
Introduction
The delicate art of watercolor flower painting invites you to embrace creativity and self-expression, offering a vibrant way to capture the beauty of nature on paper. Have you ever dreamed of transforming a blank canvas into a stunning floral masterpiece? With the right materials and techniques, even beginners can embark on this fulfilling journey. This guide delves into essential tools, fundamental techniques, and step-by-step instructions designed to empower you as an aspiring artist.
From mastering the wet-on-wet technique to troubleshooting common challenges, each section provides valuable insights that enhance your painting experience. Moreover, as you explore personalization and inspiration for your projects, you will discover how to infuse your unique style into every blossom. Each piece becomes a reflection of your artistic journey, a testament to your growth and creativity.
Essential Materials for Watercolor Flower Painting
To embark on your journey of painting stunning watercolor flowers, it’s important to gather a few materials that will support your creativity:
- Aqueous Paints: Choose a collection of watercolor paints. Tube paints offer vivid hues, while pan sets are portable and easy to use.
- Paper: Opt for 100% cotton aquarelle paper, ideally 200 lb, as it provides better absorption and texture for your artwork.
- Brushes: Consider investing in a variety of brushes, including round brushes for detail and flat brushes for washes. A size 6 or 8 round brush serves as a great starting point.
- Palette: A mixing palette is essential for blending colors. You can use a ceramic plate or a specialized painting palette to suit your needs.
- Water Container: Keep a jar or cup handy for rinsing brushes and mixing water with paint.
- Paper Towels: These are invaluable for blotting excess water and cleaning brushes during your painting process.
- Pencil and Eraser: A light pencil will help you sketch your floral designs before you begin painting.
- Masking Tape: This is useful for securing your paper to a flat surface and creating clean edges.
By having these materials ready, you’ll ensure a smooth painting process, allowing you to focus on the joy of creating watercolor flowers.
Fundamental Watercolor Techniques for Beginners
Before you embark on your painting journey, it’s important to familiarize yourself with some fundamental techniques that can make your experience more enjoyable and rewarding:
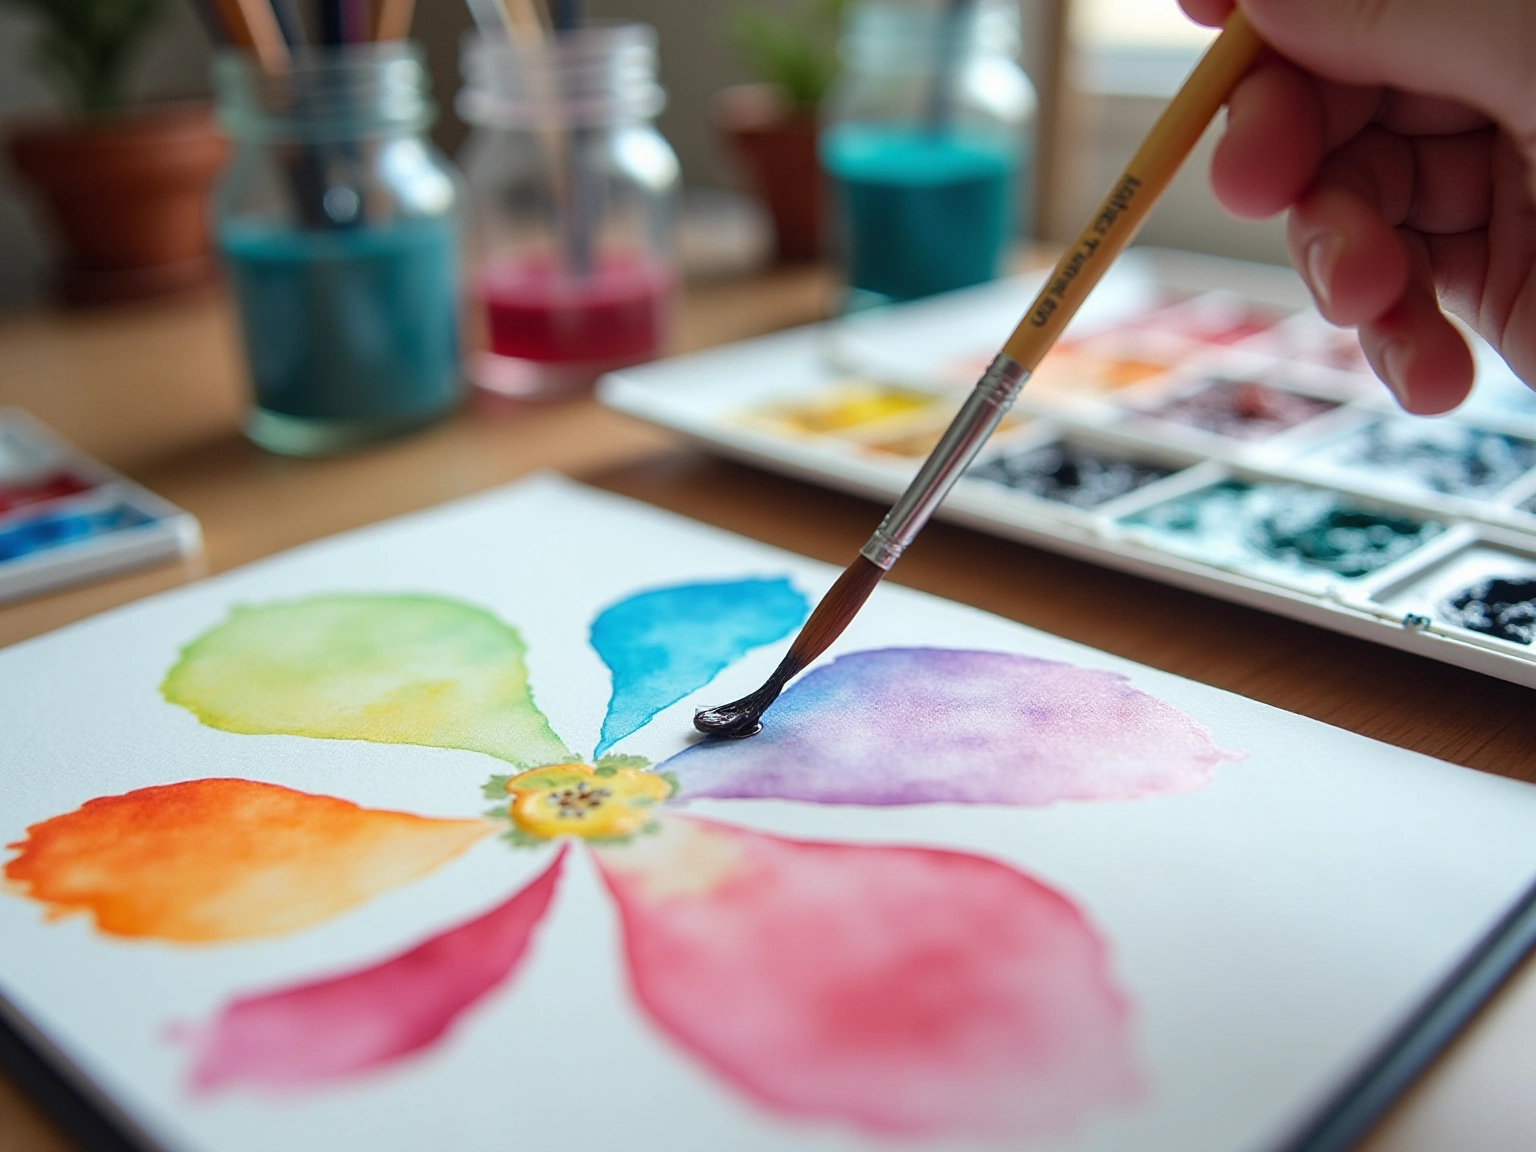
- Wet-on-Wet: Have you ever wanted to create soft, blended edges? This technique involves applying wet paint onto wet paper, making it perfect for backgrounds and petals in floral compositions.
- Wet-on-Dry: If you’re looking for sharper edges and more defined shapes, try painting wet watercolor onto dry paper. This approach is particularly useful for adding intricate details to your flowers.
- Glazing: To enhance the depth and richness of your work, consider applying transparent washes of color over dried paint. Remember to allow each layer to dry before adding the next for the best results.
- Lifting: Mistakes happen, and that’s okay! Use a damp brush or paper towel to lift paint off the paper, allowing you to create highlights or correct any errors.
- Dry Brush: For texture and detail, a dry brush with minimal water can be your best friend. This technique is perfect for adding fine lines to petals and leaves, bringing your flowers to life.
- Hue Blending: Have you explored the colors on your palette? Experimenting with hue blending can lead to beautiful new shades. Understanding color theory will help you achieve the perfect tones in your blooms.
Practicing these techniques will not only boost your confidence but also enhance your ability to create stunning watercolor flower blooms. Embrace the process, and enjoy the journey of artistic expression!
Sketching Your Floral Compositions
Creating floral compositions can be a delightful yet sometimes overwhelming task. Have you ever felt unsure about where to start? Follow these steps to sketch your flowers with confidence.
- First, choose your flowers. Select the types of blooms that resonate with you, drawing inspiration from nature or online sources. This is your moment to connect with the beauty around you.
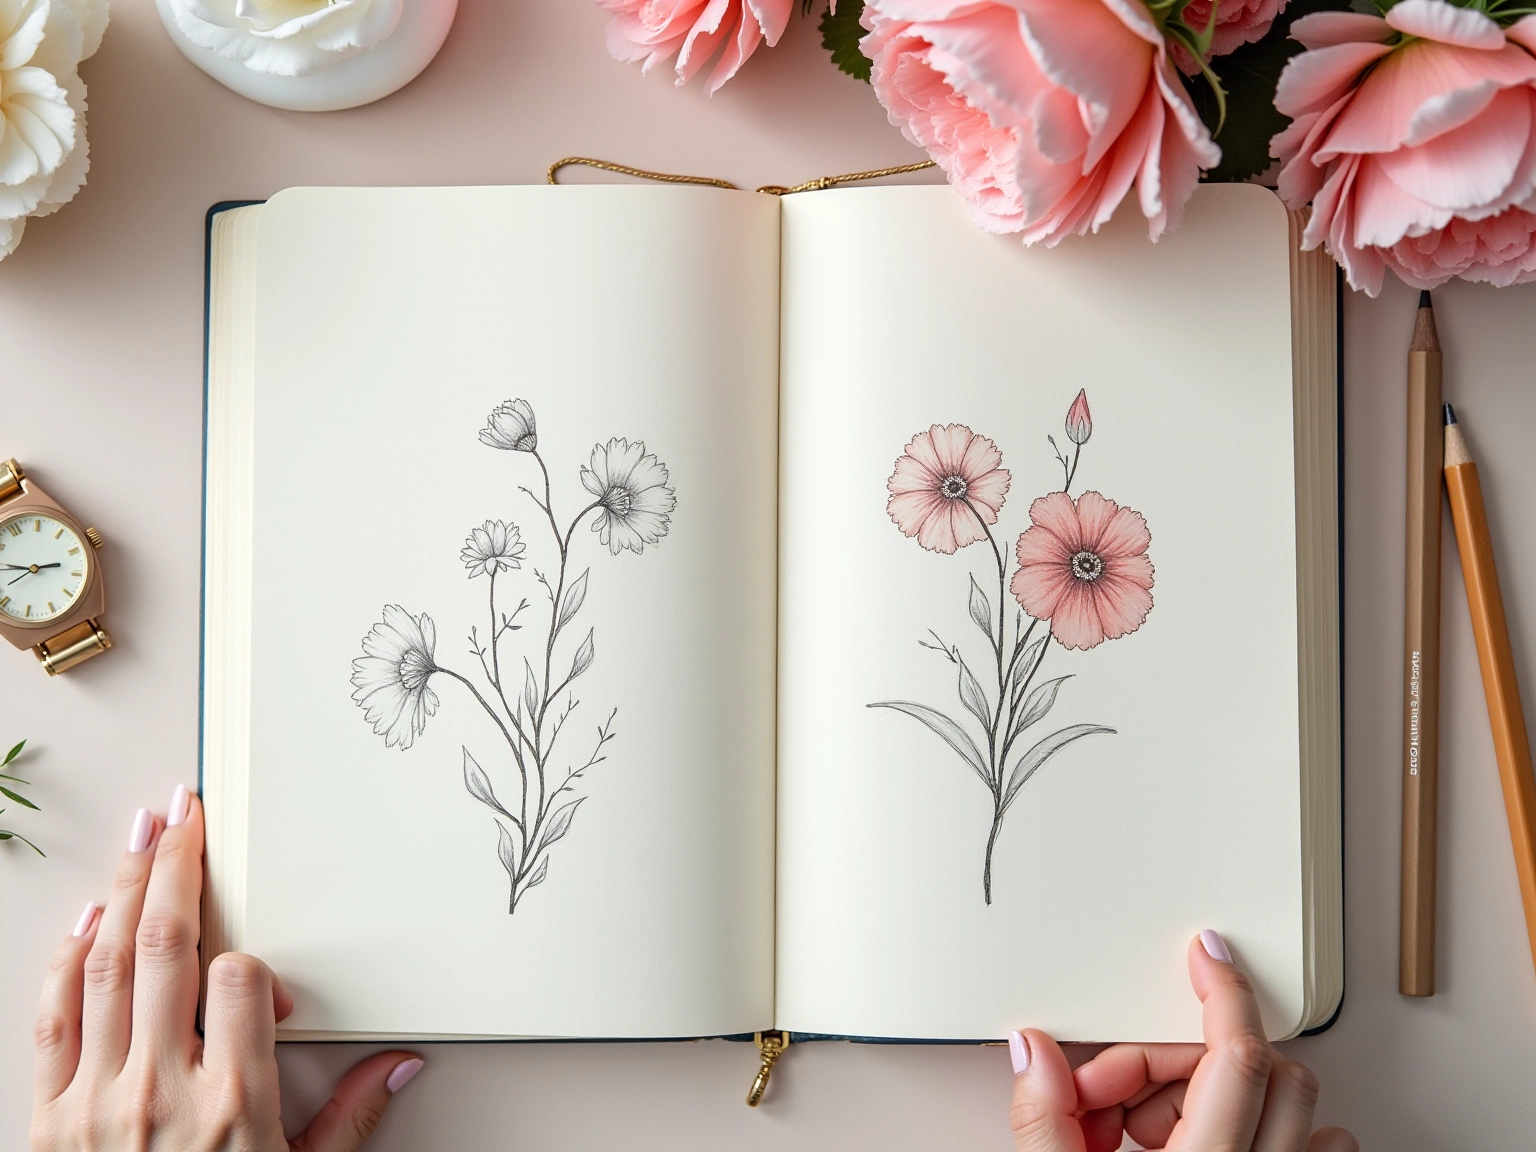
- Next, lightly sketch the basic shapes of your flowers using a soft pencil. Focus on the overall form rather than getting lost in the details. This step is about laying a gentle foundation for your composition.
- Now, consider the composition layout, keeping the rule of thirds in mind for balance. Remember to leave space for stems and leaves, allowing your arrangement to breathe.
- Once you’re satisfied with the layout, it’s time to add details. Gently outline the petal shapes and leaf outlines, keeping your lines light to prevent them from showing through the paint. This is where your flowers begin to come alive.
- Finally, review your sketch and make any necessary adjustments. Ensure that the composition flows beautifully and that the plants are proportionate. A well-planned sketch will act as a solid base for your painting, guiding you as you bring your vision to life.
Step-by-Step Guide to Painting Watercolor Flowers
Creating stunning watercolor flowers can be a delightful journey, and this guide is here to support you every step of the way.
- Prepare Your Workspace: Start by setting up your materials in a well-lit area. Have you ever felt overwhelmed by clutter? For optimal results, consider using a 16 oz mason jar for your water; it provides ample space for rinsing brushes. Secure your paper with masking tape to prevent it from warping during painting.
- Wet the Paper: To achieve a beautiful background, lightly moisten the area of the paper where you plan to apply the paint. This allows the hues to merge harmoniously, creating a soft and inviting background.
- Begin with Light Shades: Apply a light wash of color as the foundation for your blooms. Using a large brush, cover broader areas to ensure a smooth base, setting the stage for the vibrant flowers to come.
- Layering: Once the base layer dries, introduce darker shades to add depth and dimension. A smaller brush is perfect for detailing, such as petal veins and shadows, which enhance the authenticity of your blooms. Remember, each layer adds character and richness to your artwork.
- Add Details: Use the dry brush technique to create texture on the petals and leaves. Focus on the edges and highlights to bring your flowers to life, inviting your audience to appreciate the beauty in the details.
- Final Touches: After your painting is dry, take a moment to evaluate it. This reflection is essential; add any final details or adjustments that will elevate the overall appearance of your artwork.
- Let it Dry: Allow your painting to dry completely before carefully removing the masking tape. This small step will help preserve the crisp edges of your artwork, ensuring it looks its best.
By following these steps, you will not only enhance your skills but also create beautiful watercolor flower art that reflects your personal style. As Beth Beighley beautifully notes, “Your directions are so clear! I hope every new art teacher can see how beautiful things can come from simplicity.”
Recent tutorials and user feedback highlight the effectiveness of these methods, making them popular among novices and art lovers alike, especially in supportive environments like fundraisers and summer camps. Users have praised the guide for its clarity and helpful plant directory, further reinforcing the techniques discussed in this guide.
Troubleshooting Common Watercolor Challenges
Creating a painting can be a challenge. Have you ever felt overwhelmed by the complexities of watercolor painting? Here are some common issues, along with solutions for them:
- Muddy Hues: This issue often arises from mixing colors or using too many shades on your palette. To maintain clarity in your artwork, limit your palette choices and ensure you clean your brush thoroughly between hues. This practice helps preserve the vibrancy of each hue. Understanding the behavior of paint and paper can also make the process of painting easier and more enjoyable.
- Unwanted Backruns: Backruns occur when wet paint flows into an adjacent wet area, creating unintended patterns. To avoid this, allow each layer to dry completely before applying additional paint. This method ensures that your hues remain separate and clearly outlined.
- Excessive Water: If your painting feels overly watery, remedy this by using a dry brush to lift excess moisture or paint. Additionally, blotting with a paper towel can help absorb unwanted water, giving you better control over your medium.
- Lifting Mistakes: Mistakes are part of the learning process. If you need to correct an error, gently lift the paint using a damp brush. It’s advisable to practice this method on scrap paper first to build your confidence.
- Color Fading: Sometimes, colors may appear dull once dried. To enhance the appearance of a watercolor flower, consider applying a glaze over the dried paint. This method can rejuvenate your artwork and restore its intended brightness.
As artist Zhifang wisely states, “Paint for the sake of the process. Then any result will come as a satisfying piece: you’ve got an experience, you became better because you were practicing and you created something beautiful.” By familiarizing yourself with these typical challenges and their solutions, you can approach your painting projects with enhanced confidence and creativity.
Remember, the journey of painting is as important as the final piece, so enjoy the process and keep experimenting!
For those looking to deepen their skills, consider joining a community or resource group, which often have membership prices around $24.99, providing access to valuable insights and support. Moreover, exploring different mediums, such as gouache, can offer comparative insights into handling techniques and enhance your overall artistic journey.
Enhancing Your Watercolor Flowers: Tips for Personalization
To elevate and personalize your watercolor flowers, consider these nurturing techniques:
- Experiment with Hue: Have you ever felt confined by traditional color choices? Embrace the freedom to blend unconventional shades. Combining vibrant hues with soft pastels can yield a distinctive and eye-catching palette that sets your artwork apart. Many artists are increasingly experimenting with colors to create unique pieces, reflecting their individuality.
- Add Backgrounds: Are you looking to enhance your floral compositions? Incorporating simple backgrounds can make all the difference. Utilizing washes or subtle patterns provides depth and context, allowing your blooms to stand out even more.
- Incorporate Textures: Do you want to explore innovative techniques? Consider using salt or plastic wrap to create unique textures in both your flowers and backgrounds. These methods can add visual interest and complexity to your artwork, making it truly special.
- Personal touches: How can you infuse your personality into your pieces? Adding elements such as doodles, meaningful quotes, or patterns reflecting your style makes each piece truly one-of-a-kind. Watercolor pieces, like those created by Kelly Swain, serve as ideal housewarming gifts, capturing cherished moments and adding a personal touch to any home. One satisfied customer remarked, “The perfect housewarming gift,” emphasizing the uniqueness.
- Frame Your Work: Once your artwork is complete, have you considered framing it? A well-chosen frame not only enhances the presentation but also encourages you to display your creativity proudly.
By personalizing your painting creations, you not only make them more meaningful but also enhance the joy of the artistic process. Remember, the trend towards personalization in painting is growing, with 371 partners actively engaging in this movement. This highlights the importance of individual expression in artistic endeavors, inviting you to embrace your unique voice.
Inspiration for Your Next Watercolor Projects
Here are some inspiring ideas to elevate your next watercolor projects:
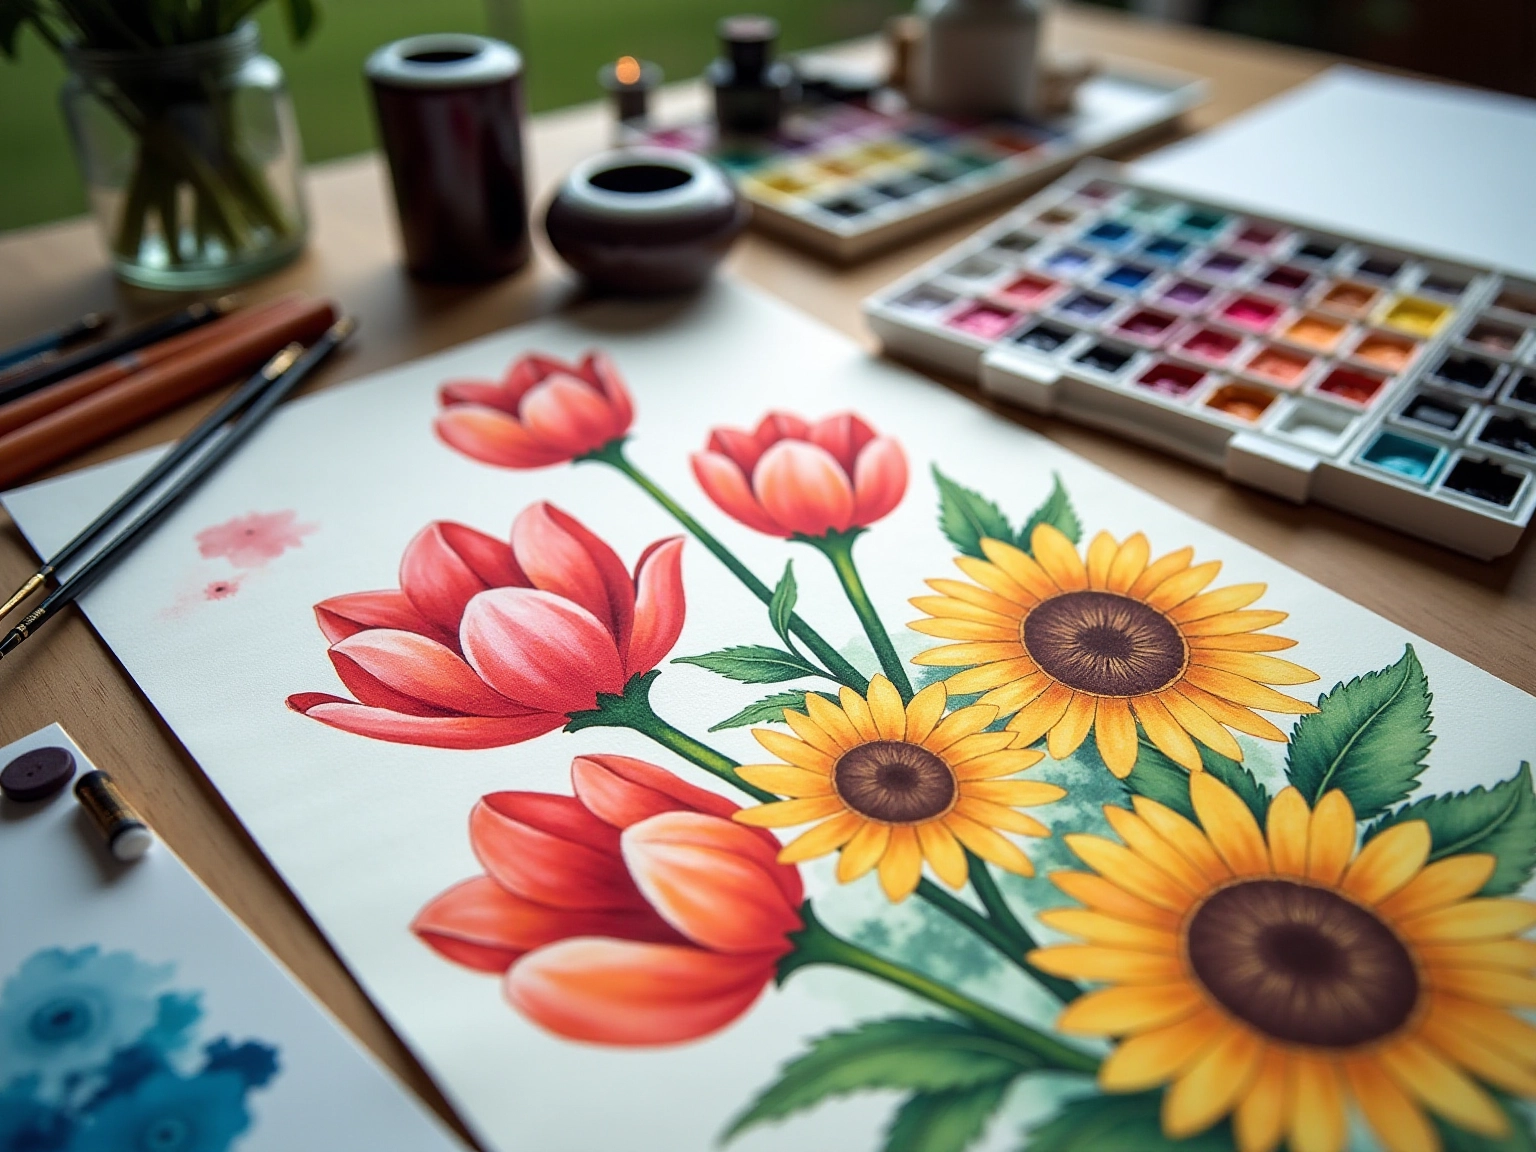
- Seasonal Flowers: Embrace the beauty of the seasons by painting flowers that symbolize the current time of year. For instance, capturing the colors of spring tulips or the warm hues of summer sunflowers can be a delightful experience. This method not only mirrors nature’s cycles but also allows you to experiment with a range of hues and techniques.
- Floral Patterns: Have you ever thought about diving into the world of design? Creating a series of floral patterns can be a wonderful way to add a personal touch to everyday items, such as greeting cards, wrapping paper, or fabric designs. The trend of floral design in art continues to grow, with artists increasingly showcasing their work on social media platforms. This fosters a community of inspiration and creativity. Engaging with wedding floristry online has transformed how couples connect with florists, enhancing the support and creativity available to artists.
- Detailed Studies: Concentrate on thorough examinations of distinct flowers, capturing their unique features. This technique hones your observational skills and allows for a deeper understanding of floral anatomy. As artist Stephie Clark notes, “Paint from the background to the foreground, all the way through, and paint color and shape when blocking in.” Artists often find that this approach enhances the overall composition.
- Mixed Media: Why not experiment with a mixed media approach? Combining paint with other mediums such as ink or colored pencils can add depth and texture to your artwork, allowing for innovative expressions of floral designs. The newest trends in 2025 emphasize a rising fascination with mixed media, motivating artists to expand the limits of conventional painting techniques. Incorporating Van Huysum’s wet-into-wet application and careful attention to light effects can further elevate your work.
- Nature Scenes: Incorporate your floral creations into larger nature scenes, such as gardens or landscapes. This not only creates a more dynamic composition but also tells a story through your art. A typical day on a farm starts with 5:30 AM wake-up calls, reflecting the dedication and early inspiration that can be drawn from nature. Engaging with nature in this way can lead to stunning visual narratives that resonate with viewers.
By exploring these ideas, you will not only develop your skills but also keep your creativity flowing, allowing your unique artistic voice to shine through in your watercolor flower projects.
Conclusion
The journey of watercolor flower painting is an enriching and fulfilling experience, inviting you to harness your creativity while capturing the beauty of nature on paper. By gathering essential materials, such as quality paints, brushes, and watercolor paper, you can set the stage for your artistic endeavors. Mastering fundamental techniques like wet-on-wet and glazing equips you with the skills needed to create stunning floral compositions.
As you embark on this painting process, careful sketching and layering techniques come into play, allowing you to build depth and detail in your work. Have you ever felt challenged by muddy colors or unwanted backruns? Troubleshooting these common issues empowers you to navigate obstacles with confidence. Emphasizing personalization through color experimentation and unique textures encourages you to infuse your individual style into each piece.
Inspiration can be drawn from seasonal flowers, botanical studies, and mixed media approaches. By exploring these diverse ideas, you not only enhance your skills but also cultivate a unique artistic voice that reflects your personal journey.
Ultimately, watercolor flower painting is more than just a technique; it is a celebration of creativity and self-expression. Each stroke of the brush transforms a blank canvas into a vibrant testament of growth, inviting you to embrace the process and share your floral masterpieces with the world.
Frequently Asked Questions
What materials are essential for painting watercolor flowers?
The essential materials include quality aqueous paints (tube or pan), 100% cotton aquarelle paper (ideally 200 lb), a variety of brushes (including round and flat brushes), a mixing palette, a water container, paper towels, a light pencil and eraser, and masking tape.
What type of paper is recommended for watercolor painting?
It is recommended to use 100% cotton aquarelle paper, ideally 200 lb, as it provides better absorption and texture for watercolor artwork.
What techniques should I familiarize myself with before starting to paint?
Familiarize yourself with the following techniques: Wet-on-Wet, Wet-on-Dry, Glazing, Lifting, Dry Brush, and Hue Blending.
What is the Wet-on-Wet technique?
The Wet-on-Wet technique involves applying wet paint onto wet paper, which is perfect for creating soft, blended edges, especially in backgrounds and petals.
How does the Wet-on-Dry technique differ from Wet-on-Wet?
The Wet-on-Dry technique involves painting wet watercolor onto dry paper, resulting in sharper edges and more defined shapes, making it suitable for adding intricate details to flowers.
What is Glazing in watercolor painting?
Glazing is the technique of applying transparent washes of color over dried paint to enhance depth and richness in your artwork. It is important to allow each layer to dry before adding the next.
How can I correct mistakes while painting?
You can correct mistakes by using a damp brush or paper towel to lift paint off the paper, which allows you to create highlights or correct any errors.
What is the purpose of the Dry Brush technique?
The Dry Brush technique is used to create texture and detail by using a brush with minimal water, perfect for adding fine lines to petals and leaves.
How can I experiment with colors in watercolor painting?
You can experiment with hue blending by mixing colors on your palette, which can lead to beautiful new shades. Understanding color theory will help you achieve the perfect tones in your blooms.
List of Sources
- Step-by-Step Guide to Painting Watercolor Flowers
- watercoloraffair.com (https://watercoloraffair.com/watercolor-supplies-beginners)
- deepspacesparkle.com (https://deepspacesparkle.com/draw-flower-garden)
- amazon.com (https://amazon.com/DIY-Watercolor-Flowers-Beginners-Stationery/dp/1446307352)
- Troubleshooting Common Watercolor Challenges
- artistsnetwork.com (https://artistsnetwork.com/store/digital-magazines/watercolor-artist-digital/watercolor-artist-spring-2025-digital-edition)
- yanatravelart.com (https://yanatravelart.com/is-watercolor-painting-difficult)
- fineart-restoration.co.uk (https://fineart-restoration.co.uk/guides-and-advice/common-damage-to-watercolour-paintings)
- Enhancing Your Watercolor Flowers: Tips for Personalization
- quora.com (https://quora.com/How-can-I-get-better-at-painting-with-watercolors)
- montessori-art.com (https://montessori-art.com/watercolor-play-montessori-art-lesson)
- hitched.co.uk (https://hitched.co.uk/wedding-planning/quotes/inspirational-quotes-about-love-and-marriage)
- fineart-restoration.co.uk (https://fineart-restoration.co.uk/guides-and-advice/common-damage-to-watercolour-paintings)
- Inspiration for Your Next Watercolor Projects
- wildlynativeflowerfarm.com (https://wildlynativeflowerfarm.com/your-wedding-color-scheme-how-to-pick-flowers-by-the-season)
- howtopastel.com (https://howtopastel.com/2022/06/stephie-clark-how-to-create-depth-in-florals)
- nga.gov (https://nga.gov/collection/art-object-page.96655.html)


comments +