
Introduction
Creating stunning watercolor flower illustrations at home isn’t just an artistic endeavor; it’s a heartfelt journey into a vibrant world of color and creativity. Have you ever felt the urge to express yourself through art but found the thought of mastering watercolor techniques overwhelming? You’re not alone. With the right materials and techniques, anyone can transform a blank canvas into a blossoming masterpiece.
This guide is here to support you in crafting exquisite floral art. We’ll explore essential supplies, sketching methods, and expert techniques that can elevate your skills. Imagine the joy of bringing your floral visions to life! Are you ready to embark on this colorful adventure together?
Gather Essential Materials for Watercolor Illustration
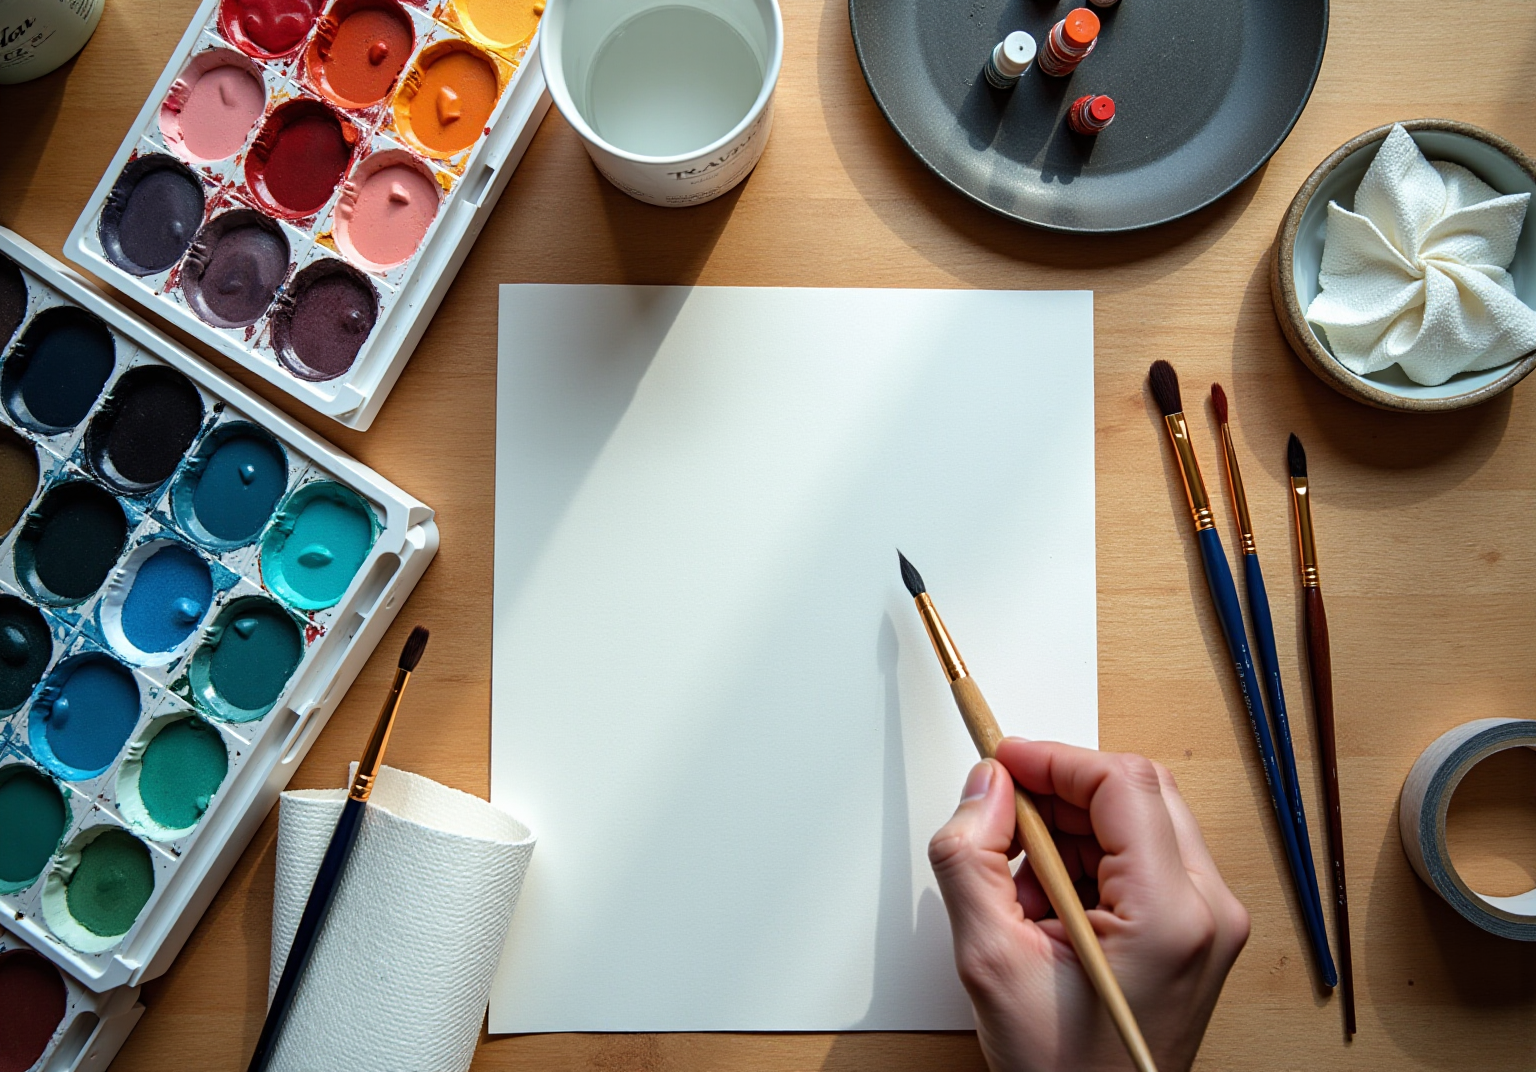
Creating stunning watercolor illustration flower designs can be a fulfilling journey, and gathering the right materials is the first step. Have you ever felt unsure about where to start? Let’s explore the essentials together.
- Aquarelle Paints: Opt for premium aquarelle paints, available in tubes or pans. Brands like Winsor & Newton and Daniel Smith are highly recommended for their vibrant colors and excellent pigmentation. This choice reflects a growing trend towards quality art supplies. Did you know the Global Watercolor Paints Market is projected to grow from 1,974.7 USD Million in 2025 to 3,500 USD Million by 2035? This indicates a rising interest in quality materials, just like yours.
- Watercolor Paper: Selecting 100% cotton watercolor paper is crucial. Cold-pressed paper adds texture, and a weight of 200 lb (425 gsm) is ideal to prevent warping as you apply color.
- Brushes: A variety of brushes will enhance your experience. Use a round brush (size 6 or 8) for detail work, a flat brush (1 inch) for washes, and a fine detail brush for intricate areas. Remember, the right tools can significantly elevate your painting.
- Pencil and Eraser: A light pencil for sketching your designs and a kneaded eraser for easy corrections are essential. These tools will help you refine your ideas.
- Palette: A mixing palette is invaluable for blending colors effectively, allowing your artistic expression to shine.
- Water Container: Keep a container handy for rinsing brushes and diluting paints. Clean application is key to achieving the best results.
- Paper Towels: Handy for blotting excess water and paint, paper towels are a must-have in your toolkit.
- Masking Tape: Use masking tape to secure your paper and create clean edges. This step is vital for a polished look.
By collecting these resources, you’ll be well-prepared to embark on your painting journey. Imagine creating beautiful designs with watercolor illustration flowers that embody your artistic vision! Moreover, the increasing demand for eco-friendly and non-toxic watercolor products reflects a significant trend in the market. It’s worthwhile to consider sustainable options in your supplies, ensuring your art is not only beautiful but also responsible.
Sketch Floral Designs with Precision
Creating beautiful floral illustrations can be a rewarding experience, and it all starts with a few essential steps:
- Choose Your Blooms: Have you ever felt unsure about which flowers to illustrate? Start by selecting the blossoms that inspire you. Reference images can spark your creativity and help you understand the shapes of the blooms. Remember, as Nazia Ammar beautifully states, “Flowers are the love letters of the natural world.”
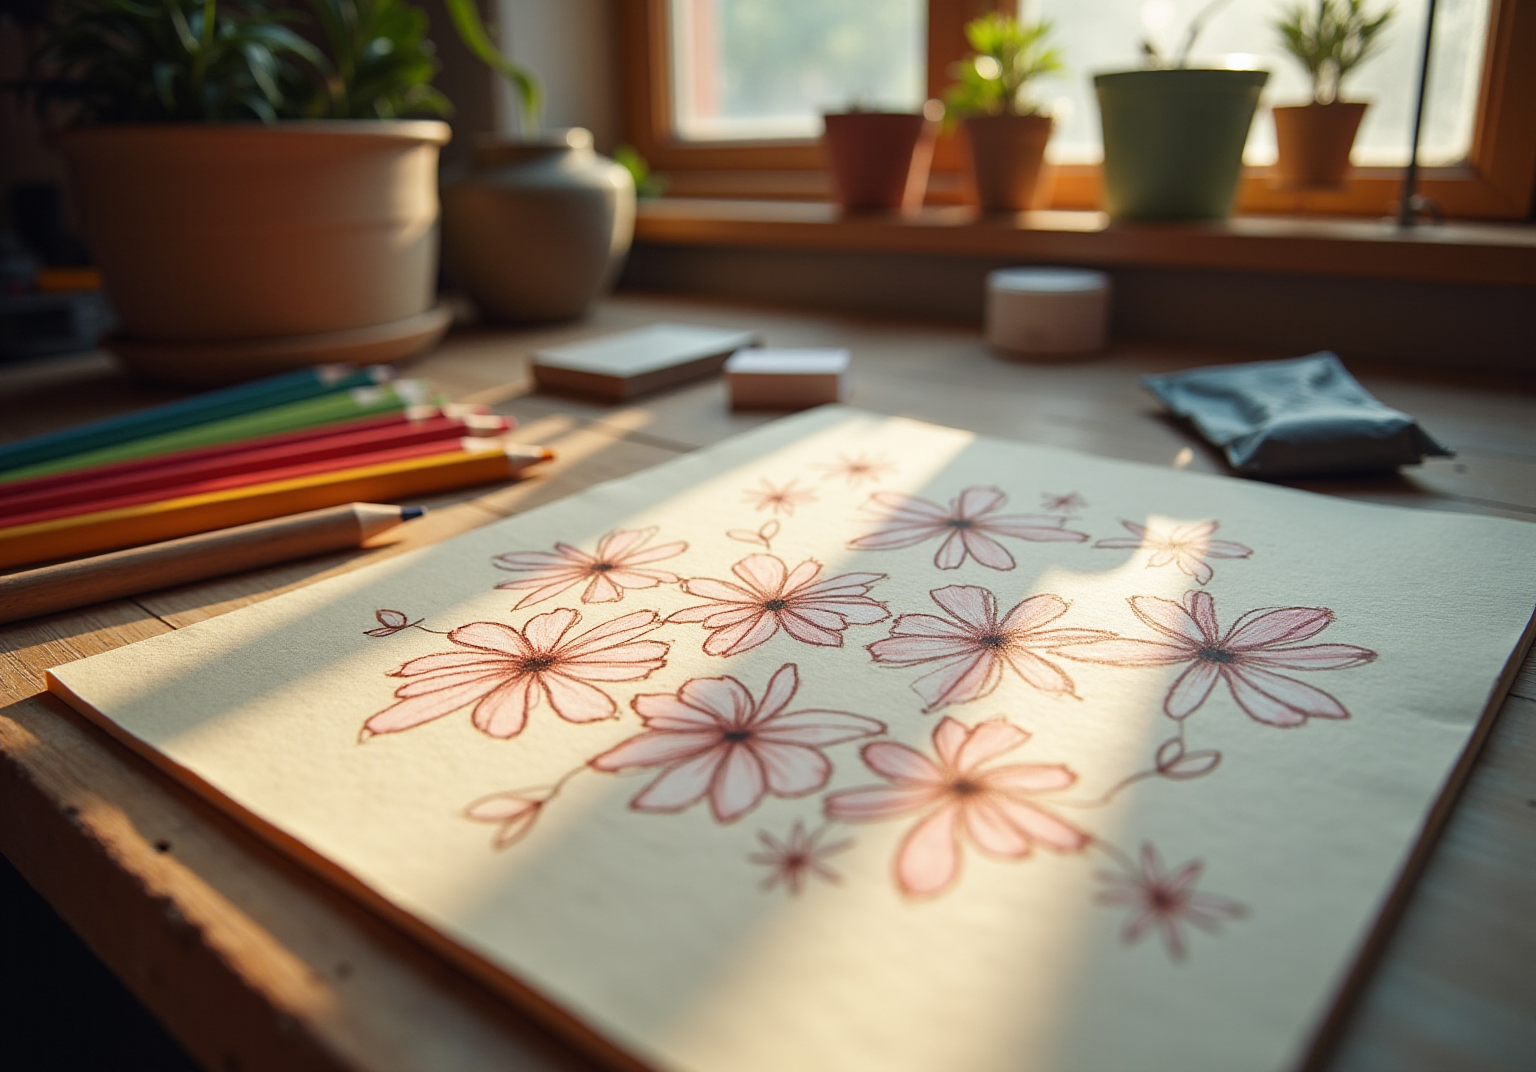
- Outline Lightly: Begin with a soft pencil to sketch the basic forms of the blossoms. Focus on capturing the overall shape rather than getting lost in the details at this stage. This approach can ease any pressure you might feel.
- Incorporate Details: Gradually introduce details like petals, leaves, and stems. Pay close attention to the unique characteristics of each bloom; this will truly bring your illustration to life.
- Consider Composition: Think about how your plants will be arranged on the page. Aim for a balanced composition by varying the sizes and angles of the flowers. This not only creates visual interest but also makes your artwork more engaging. Good art inspires, while good design motivates.
- Refine Your Sketch: Once you’re satisfied with the layout, go over your lines to define the shapes more clearly. Erase any extraneous marks to keep your sketch clean and focused.
- Add Final Touches: Ensure your sketch is polished and ready for painting. A well-prepared sketch will make the painting process smoother and more enjoyable.
By following these steps, you can build a solid foundation for your floral artwork, particularly in creating a watercolor illustration flower, allowing your creativity to flourish. Did you know the floristry industry is projected to reach a market size of $8.9 billion in 2025? This highlights the growing appreciation for floral art and its emotional significance. Flowers convey affection through their hue and fragrance, transforming your creations into not just art, but a genuine expression of love.
Apply Watercolor Techniques for Vibrant Art
Creating stunning watercolor illustration flowers can feel daunting, but with the right techniques, you can bring your artistic vision to life. Have you ever felt overwhelmed by the thought of mastering this beautiful medium? Let’s explore some nurturing steps that can help you along the way.
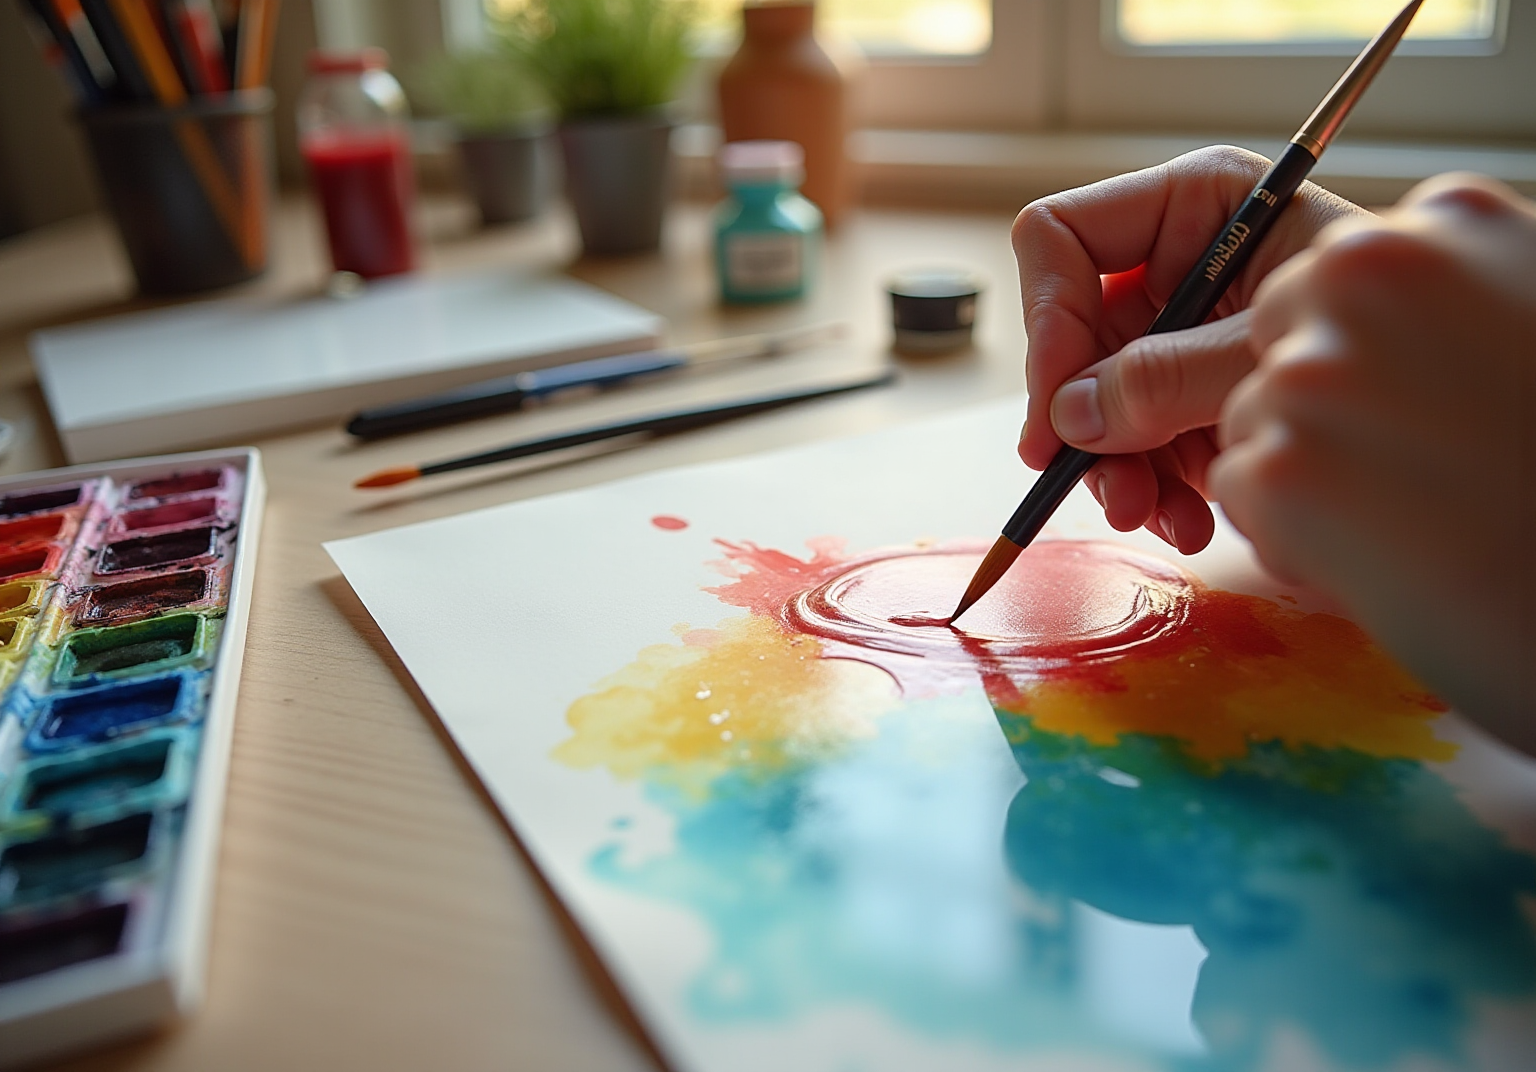
- Wet-on-Wet Technique: Start by wetting the area of your paper where you want to apply color. As you introduce your paint while the paper is still wet, you’ll notice how soft edges and seamless color blending come to life. This technique can truly transform your artwork.
- Wet-on-Dry Technique: If you’re looking for more control over your edges and sharper details, allow the paper to dry before applying paint. This method is perfect for achieving defined shapes and intricate designs in a watercolor illustration flower, giving it a polished look.
- Layering: Begin your artwork with light washes, gradually building up layers of color. Many professional watercolor artists use an average of three to five layers. Remember, letting each layer dry completely before adding the next enhances the depth and vibrancy of your piece.
- Color Mixing: Don’t hesitate to experiment with mixing colors on your palette. Finding the perfect balance of pigments is essential for achieving the shades that showcase the natural beauty of your blooms. It’s all about discovering what works best for you.
- Brush Techniques: Different brush strokes can create wonderful textures. For instance, a flicking motion can mimic the delicate edges of flower petals beautifully. Additionally, consider using the scumbling method to add spattered spots and marks, enriching your artwork with further texture.
- Glazing: Incorporate the glazing technique by painting in transparent layers. This approach can significantly enhance the depth of your floral artwork, making it more captivating.
- Aerial Perspective: Keep in mind the concept of aerial perspective. This idea describes how atmosphere affects the appearance of objects, and it can be especially beneficial in generating depth and realism in your floral illustrations.
- Adding Details: Once your base layers have dried, grab a fine brush to add intricate details, like the veins on leaves or highlights on petals. These small touches can make a big difference.
By mastering these techniques, you’ll be well-equipped to create vibrant watercolor illustration flowers that beautifully capture the essence of your chosen flowers. So, why not give it a try? Your artistic journey awaits!
Add Finishing Touches and Prepare for Display
To add the finishing touches and prepare your artwork for display, let’s walk through these steps together:
- Review Your Artwork: Take a moment to step back and evaluate your creation. Are there areas that could use a little more detail or adjustments? This reflection is crucial for your artistic growth.
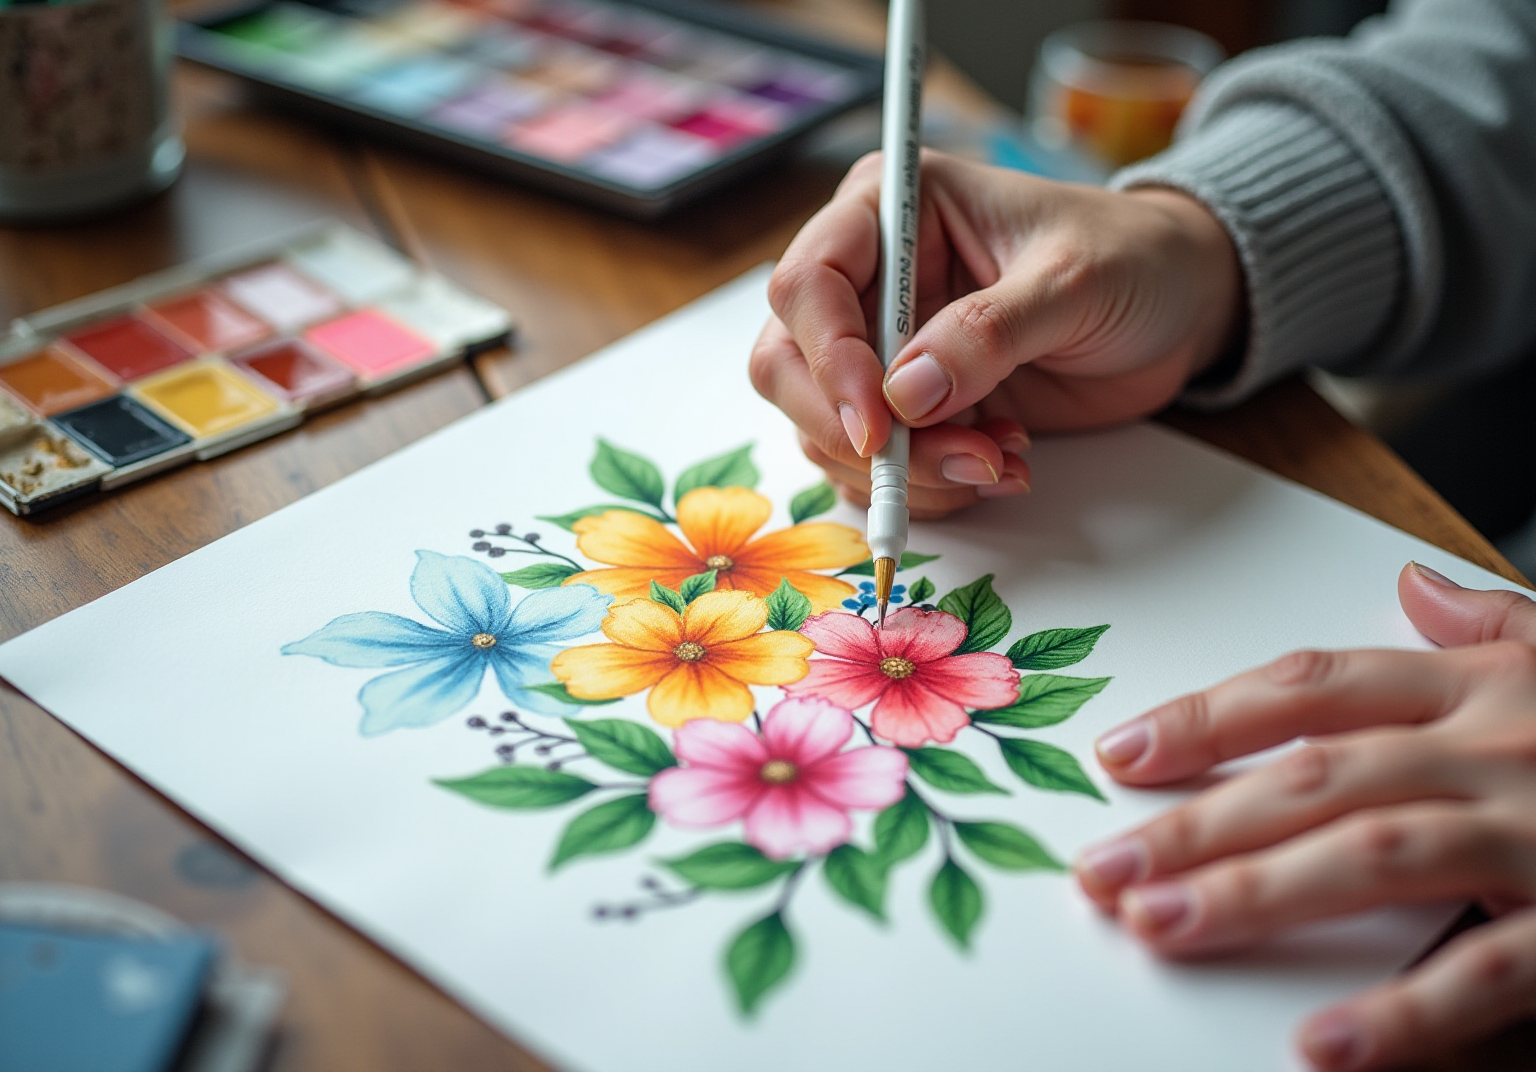
- Add Highlights: Grab a white gel pen or some white gouache to add highlights to petals and leaves. This will enhance the three-dimensional effect of your work. Remember, as the saying goes, ‘life, like painting, offers no second chances.’ So, take your time to perfect these details.
- Clean Up Edges: Use a damp brush to tidy up any rough edges or spots where the paint may have bled. A clean finish can make all the difference.
- Mounting: Once your artwork is completely dry, consider attaching it to a backing board or framing it. This not only protects your piece but also enhances its presentation, making it feel more complete.
- Display Options: Think about how you want to showcase your artwork. Will you hang it on a wall, place it on an easel, or perhaps gift it in a beautiful presentation? Remember, while the time spent on completing paintings can vary, investing time in presentation is essential for highlighting your creativity.
- Preservation: If you wish, apply a fixative spray to protect your painting from fading or smudging over time. This step is vital to maintain the emotional connection you’ve developed with your artwork.
These final steps will ensure your watercolor illustration flower creations are not only beautiful but also ready to be showcased or gifted. Have you ever felt that sense of pride when your artwork is displayed just right? Let’s make sure yours shines!
Conclusion
Creating stunning watercolor flower illustrations at home can be such a rewarding experience, blending creativity with a touch of technical skill. Have you ever wanted to bring your floral visions to life? By understanding the essential materials, sketching techniques, and watercolor methods, you can do just that! This guide has walked you through gathering the right tools, sketching with precision, applying vibrant watercolor techniques, and adding those all-important finishing touches to your artwork.
Key insights include the importance of quality materials, like premium aquarelle paints and 100% cotton watercolor paper, which lay the foundation for beautiful illustrations. Moreover, mastering various painting techniques—from wet-on-wet to glazing—can dramatically enhance the depth and vibrancy of your floral designs. In addition, the final steps of reviewing your artwork and considering how to display it are crucial for showcasing your creativity and ensuring your work is preserved for years to come.
Ultimately, this journey into watercolor flower illustration not only fosters artistic expression but also connects you to the beauty of nature. Whether for personal enjoyment or as a heartfelt gift, these creations can convey emotions and stories through their colors and forms. So, embrace this opportunity to explore this art form; gather your materials, let your creativity flow, and watch as the flowers bloom on your canvas.
Frequently Asked Questions
What materials are essential for watercolor illustration?
Essential materials for watercolor illustration include premium aquarelle paints, 100% cotton watercolor paper, a variety of brushes, a light pencil and eraser, a mixing palette, a water container, paper towels, and masking tape.
What type of watercolor paints should I use?
It is recommended to use premium aquarelle paints, available in tubes or pans. Brands like Winsor & Newton and Daniel Smith are noted for their vibrant colors and excellent pigmentation.
Why is it important to use 100% cotton watercolor paper?
100% cotton watercolor paper is crucial because it prevents warping when color is applied. Cold-pressed paper also adds texture, and a weight of 200 lb (425 gsm) is ideal for best results.
What types of brushes are recommended for watercolor painting?
A variety of brushes is recommended: a round brush (size 6 or 8) for detail work, a flat brush (1 inch) for washes, and a fine detail brush for intricate areas.
What tools should I use for sketching my designs?
A light pencil for sketching and a kneaded eraser for easy corrections are essential tools to help refine your ideas.
What is the purpose of a mixing palette in watercolor illustration?
A mixing palette is invaluable for blending colors effectively, allowing for better artistic expression.
Why do I need a water container?
A water container is needed for rinsing brushes and diluting paints, which is key to achieving clean application and the best results.
How can paper towels be useful in watercolor painting?
Paper towels are handy for blotting excess water and paint, making them a must-have in your toolkit.
What is the function of masking tape in watercolor illustration?
Masking tape is used to secure your paper and create clean edges, which is vital for achieving a polished look in your artwork.
Is there a trend towards eco-friendly watercolor products?
Yes, there is an increasing demand for eco-friendly and non-toxic watercolor products, reflecting a significant trend in the market towards sustainable art supplies.
List of Sources
- Gather Essential Materials for Watercolor Illustration
- wiseguyreports.com (https://wiseguyreports.com/reports/watercolor-paints-market)
- cognitivemarketresearch.com (https://cognitivemarketresearch.com/watercolour-paint-market-report)
- watercolorartprize.com (https://watercolorartprize.com/watercolor-quotes)
- marketresearchfuture.com (https://marketresearchfuture.com/reports/watercolor-market-36463)
- Watercolor Market Size, Share & Trends, 2025–2034 (https://gminsights.com/industry-analysis/watercolor-market)
- Sketch Floral Designs with Precision
- ibisworld.com (https://ibisworld.com/united-states/industry/florists/1096)
- quoteflora.com (https://quoteflora.com/florist-quotes)
- thursd.com (https://thursd.com/articles/quotes-to-inspire-florists)
- Apply Watercolor Techniques for Vibrant Art
- watercoloracademy.com (https://watercoloracademy.com/watercolor-academy-news)
- Add Finishing Touches and Prepare for Display
- Inspirational Artist Quotes │ Cindy Briggs Watercolor Painting (https://cindybriggs.com/30-inspirational-artist-quotes)
- medium.com (https://medium.com/weeds-wildflowers/watercolor-paintings-with-quotes-b34417cceae6)
- Favorite Inspiring Art Quotes Throughout the Ages – Lori McNee – Fine Art & Tips (https://lorimcnee.com/favorite-art-quotes)
- azquotes.com (https://azquotes.com/quotes/topics/watercolors.html)


comments +