
Introduction
Creating clothing patterns can feel overwhelming, can’t it? Yet, this journey opens up a world of creativity for aspiring designers. By mastering essential techniques in pattern design, you can transform your visions into tangible garments that truly reflect your unique style. But what happens when the path to perfecting a fit brings unexpected challenges?
This guide is here to support you through the intricate process of crafting personalized clothing patterns. We’ll offer insights and practical steps to ensure that each design not only fits flawlessly but also embodies your artistic intent. Remember, every designer faces hurdles, and it’s okay to seek guidance along the way. Let’s embark on this creative adventure together!
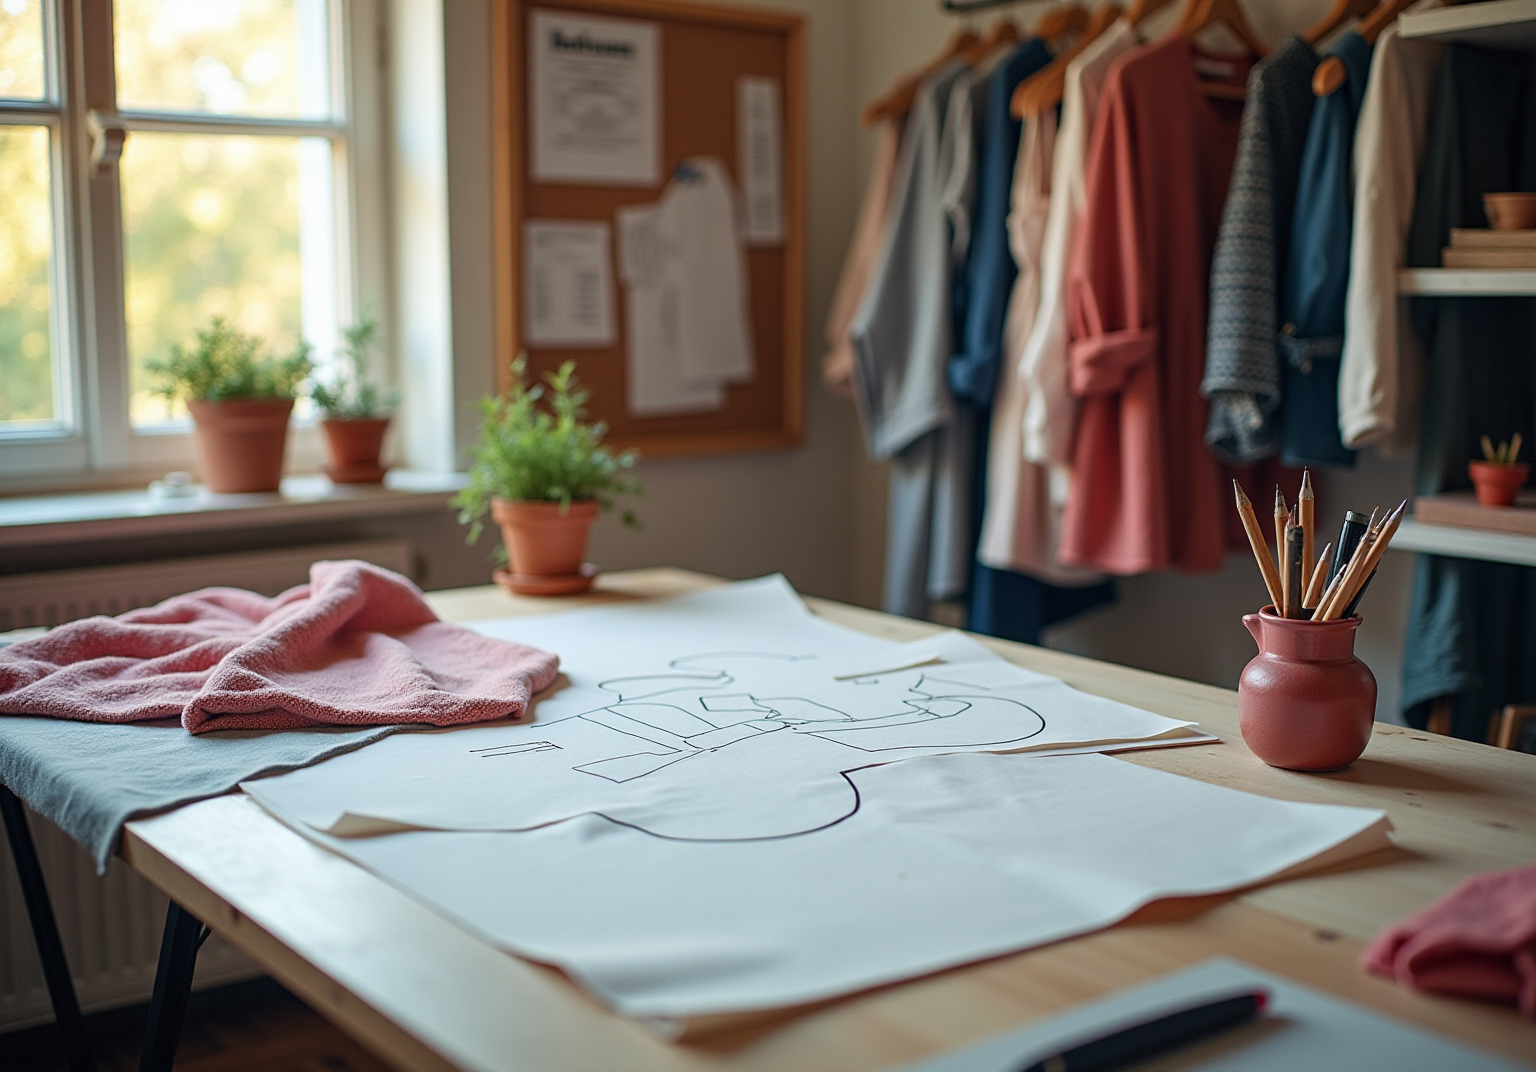
Understand Clothing Pattern Design Basics
Creating clothing templates can feel daunting, can’t it? These guides serve as blueprints for your garments, and understanding some essential concepts can make the process smoother. Think about:
- Grainlines
- Seam allowances
- The different sections of a garment, like the bodice, sleeves, and skirts
Grasping these fundamentals will help you visualize how your creations will come together beautifully.
Moreover, exploring various design styles can be quite exciting! Have you considered the difference between flat styles and draped styles? Finding the method that resonates with your taste can truly enhance your creative journey. In addition, keeping an eye on current trends can spark inspiration and provide insights into effective design techniques. So, why not take a moment to dive into these ideas? Your next masterpiece awaits!
Gather Essential Tools and Materials
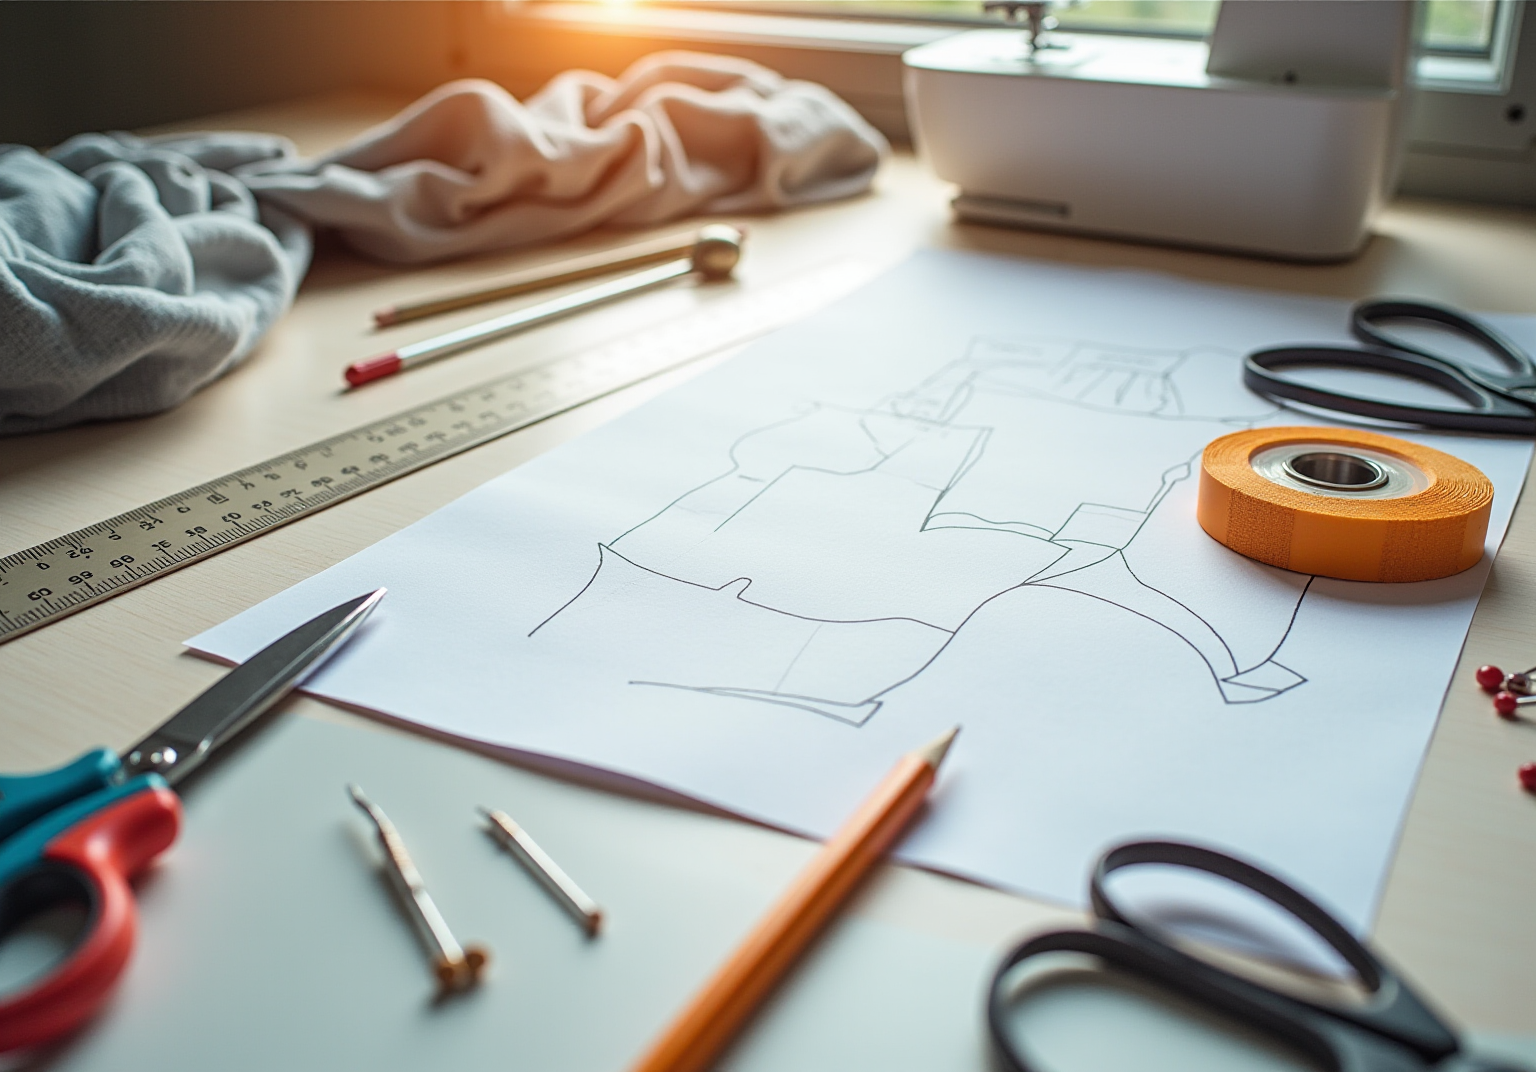
Designing your own clothing templates can feel overwhelming at times, can’t it? To make this process easier, gather a few essential tools that will help you along the way. You’ll need:
- A ruler
- Measuring tape
- Template paper
- Scissors
- Pins
- A pencil
Have you considered adding a French curve for shaping armholes and necklines? A rotary cutter can also be a game-changer for precise cutting.
Moreover, think about having a sewing machine and some fabric on hand. This will allow you to evaluate your designs more effectively. By having these tools available, you’ll simplify your workflow and enhance your ability to create accurate designs. Remember, every step you take brings you closer to bringing your creative vision to life!
Take Accurate Body Measurements
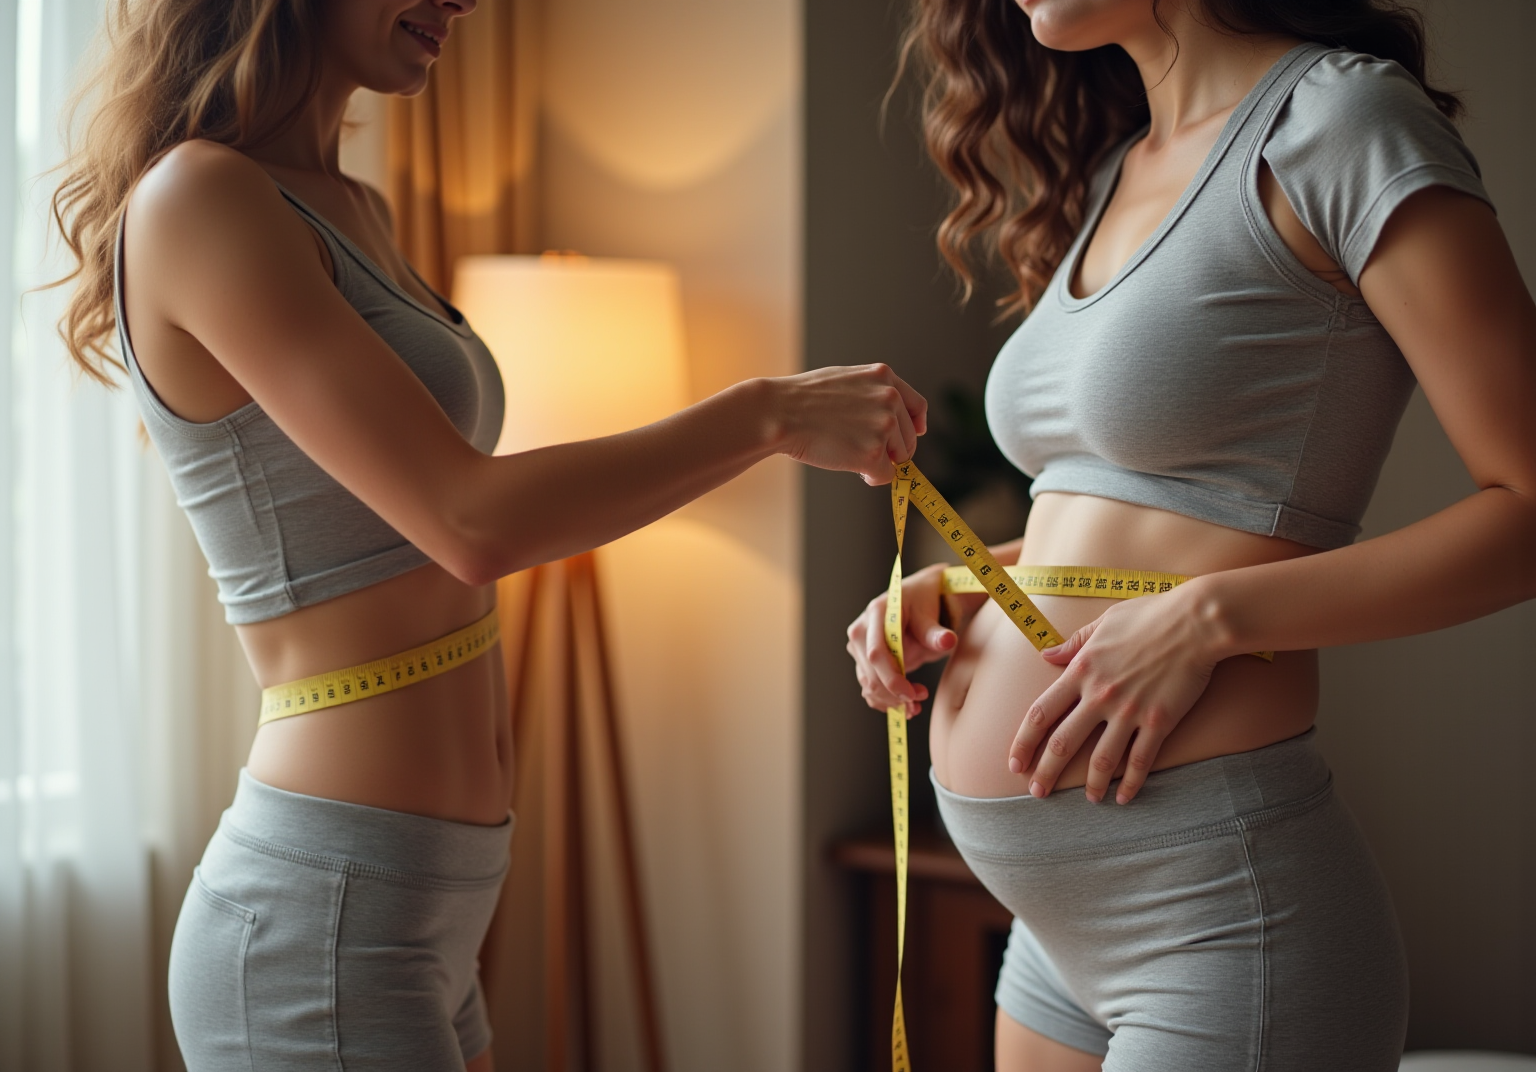
Taking accurate body measurements can feel daunting, but it’s a crucial step in your design journey. Have you ever felt unsure about how to get started? Don’t worry; I’m here to guide you through it with care.
First, grab a soft measuring tape and wear fitted clothing. This will help you get the most precise measurements. Start by measuring your:
- Bust
- Waist
- Hips
- Inseam
Remember, the tape should be snug but not tight—comfort is key! As you measure, take a moment to record each measurement carefully. It’s easy to forget, so jotting them down will help you later.
If you can, ask a friend or family member to assist you. Having someone there can make a world of difference in achieving accurate results. Moreover, consider measuring additional areas like:
- Shoulder width
- Arm length
Especially if you’re planning for more complex designs. These extra details will serve as a solid foundation for your design drafting.
Taking these steps not only simplifies the process but also empowers you to create something truly special. So, let’s get started on this exciting journey together!
Draft Your Initial Pattern
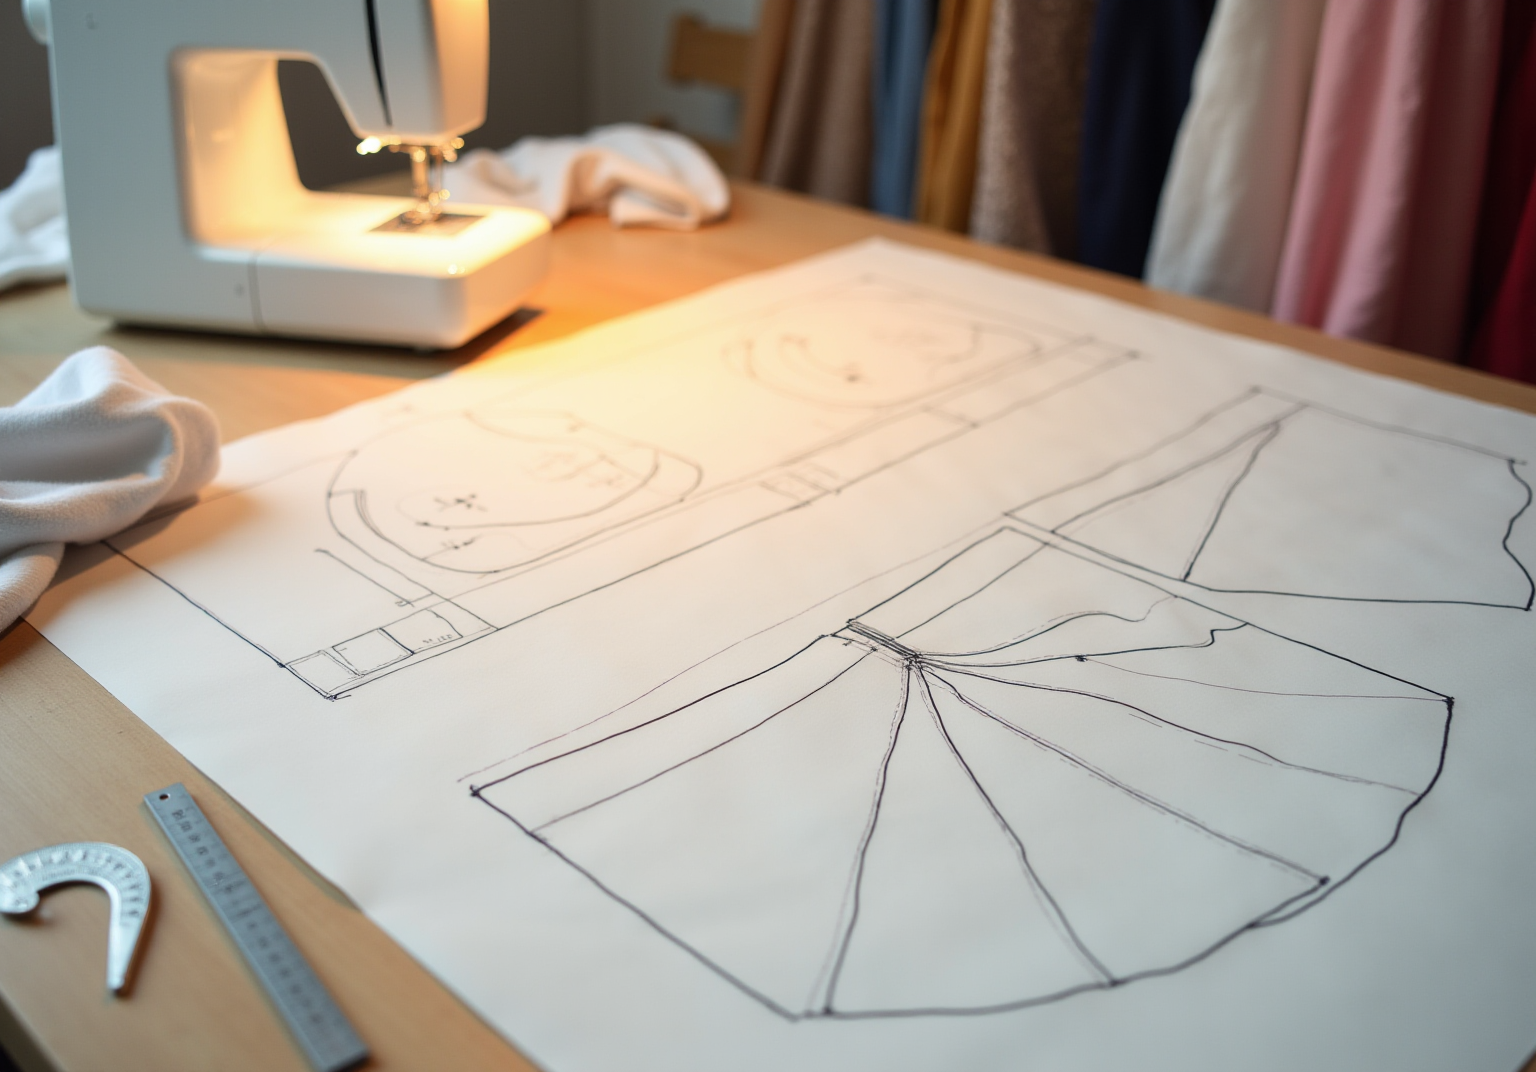
Have you ever felt a bit lost when starting a new sewing project? It’s completely normal! Using your measurements, let’s take a gentle step forward by drafting your initial pattern on pattern paper. Start with the basic shapes of your clothing, like the bodice and skirt. Grab a ruler to draw those straight lines, and use a French curve for the curves.
As you work, remember to mark seam allowances and grainlines clearly. It’s okay if it’s not perfect at this stage; the goal is to get those basic shapes down. Once you have your initial draft, you can refine it in the next steps. You’re doing great, and each line you draw brings you closer to your vision!
Refine and Perfect Your Pattern Fit
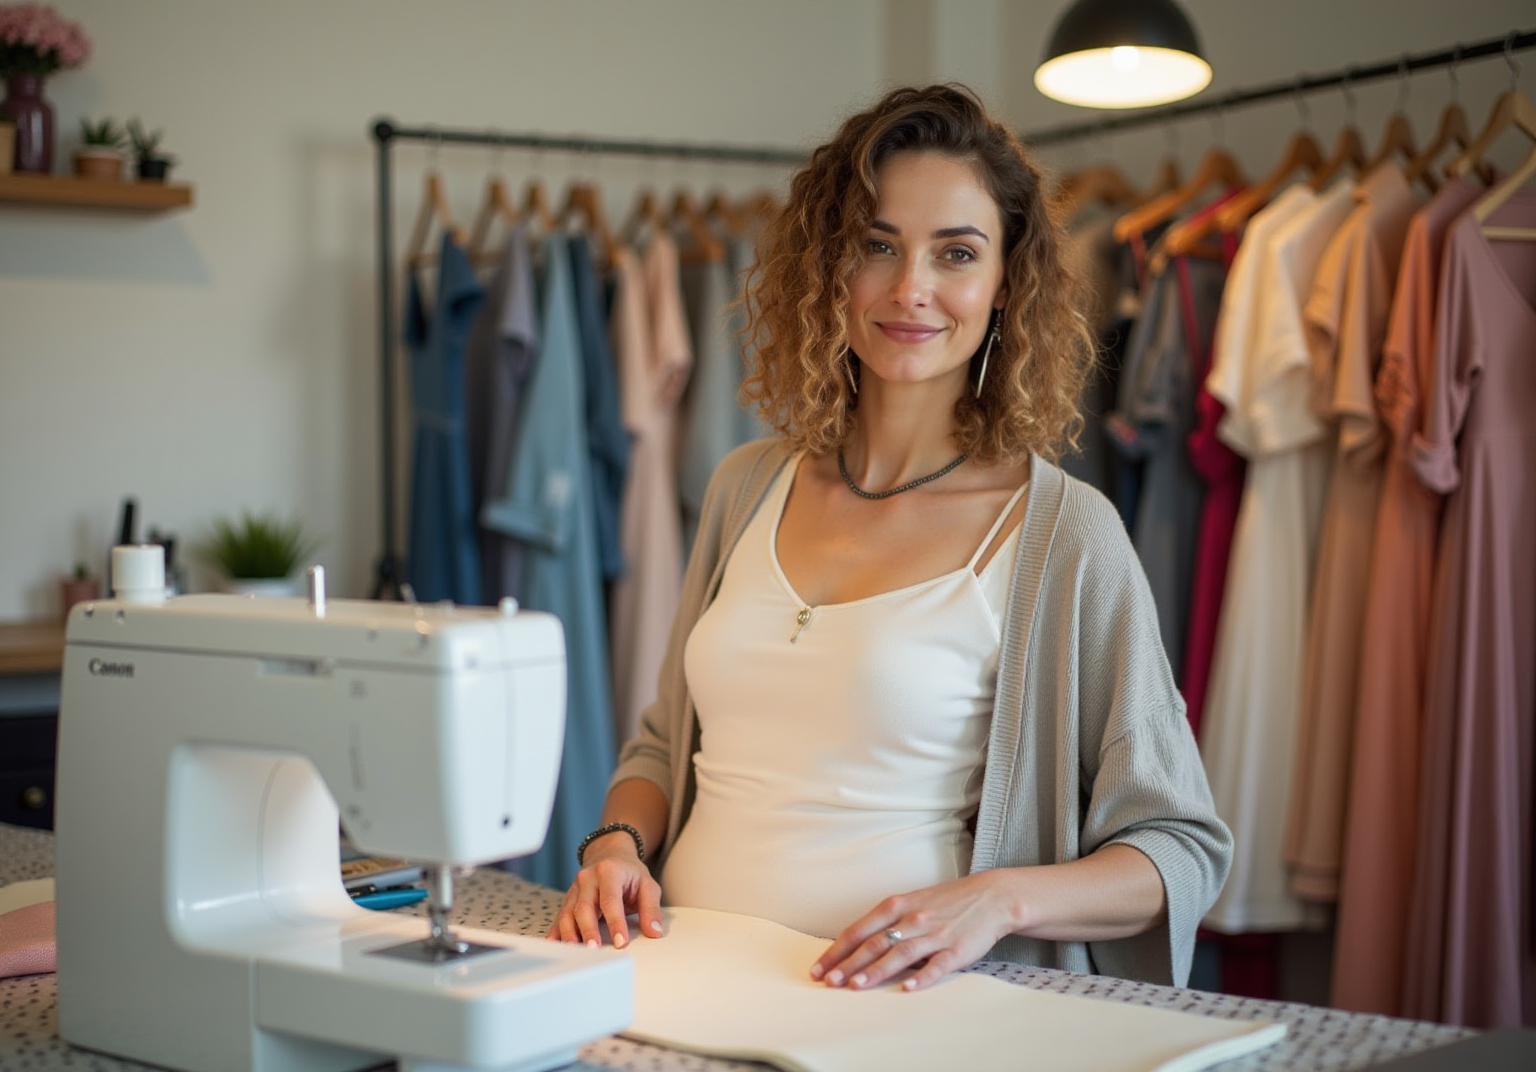
Have you ever felt a bit lost when trying to get the perfect fit for your garment? It can be overwhelming, but don’t worry—there’s a simple way to make the process smoother. Start by creating a muslin mock-up of your design using some inexpensive fabric. This step is crucial; it allows you to see how the pieces come together without the pressure of using your final fabric.
Once you’ve sewn the pieces together, try it on. This is your chance to really assess the fit. Are there areas that feel too tight or too loose? Take a moment to note any adjustments you might need. Common tweaks include:
- Altering the bust darts
- Adjusting the waistline
- Modifying sleeve caps
Remember, this is all part of the journey to achieving that perfect fit.
After making your adjustments, update your design accordingly. It’s a process, and it might take a few tries, but that’s completely normal. Keep repeating this until you find a fit that makes you feel confident and satisfied. You’ve got this, and each step brings you closer to your ideal garment!
Finalize Your Production-Ready Pattern
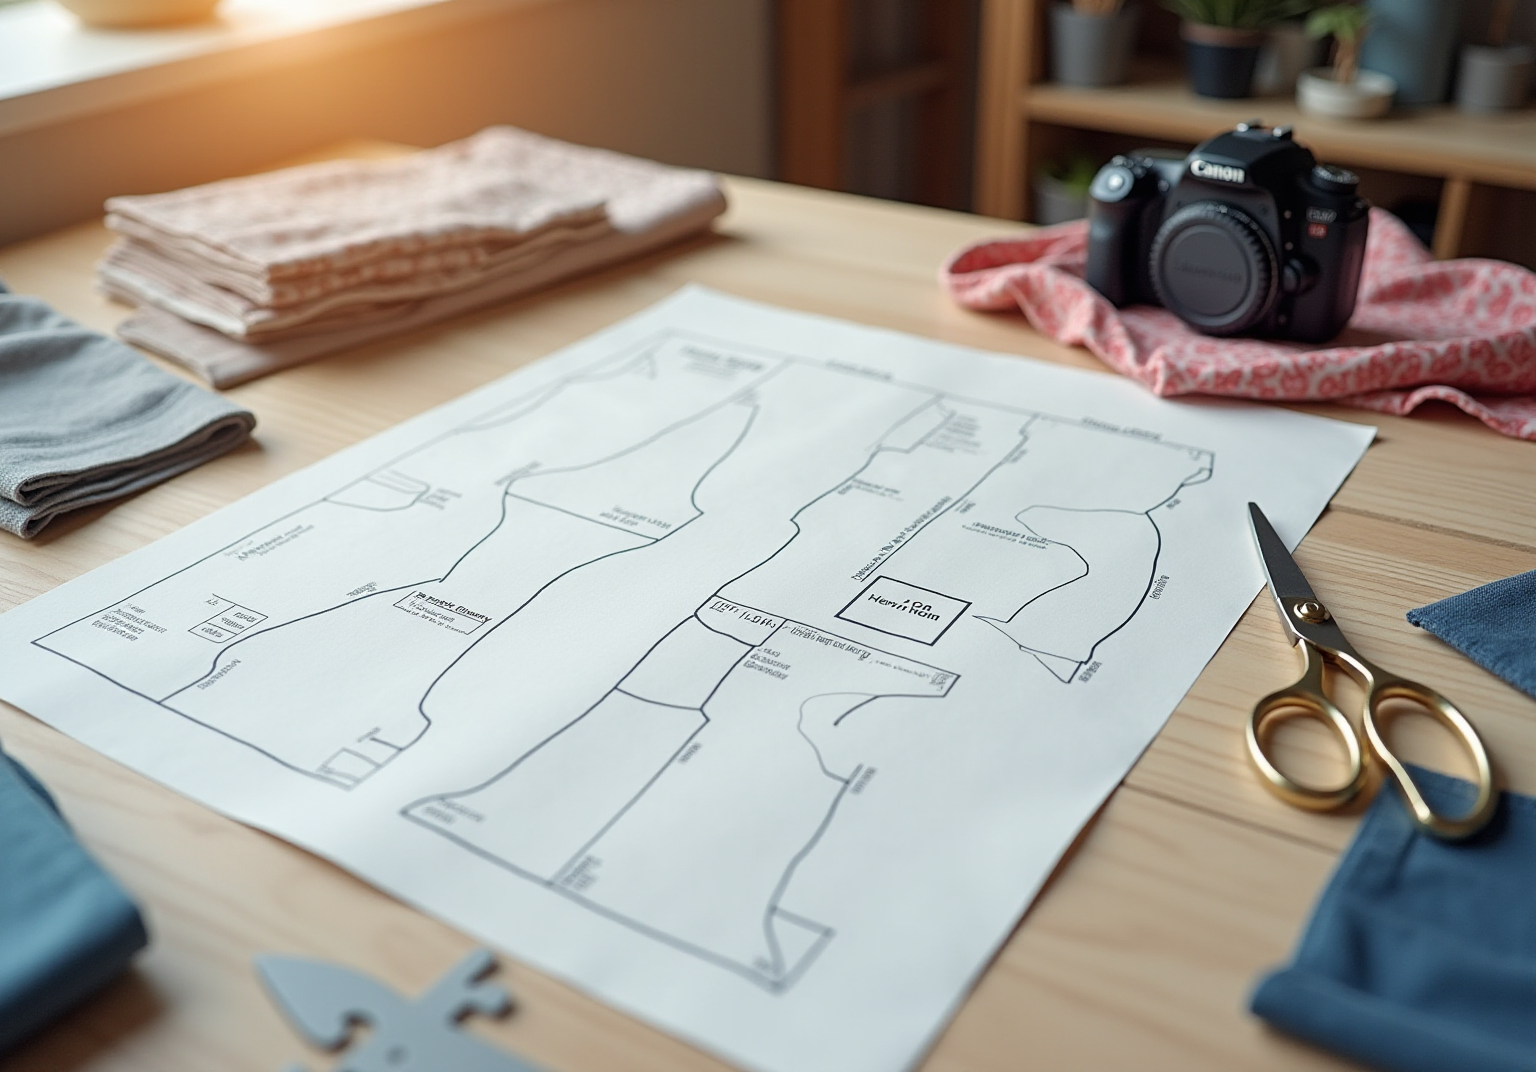
Once you’re happy with how your template fits and looks, it’s time to wrap things up. Have you ever felt a bit lost in the final touches? Don’t worry; we’re here to help you through it! Start by cleaning up your design—smooth out any rough lines and make sure all your markings are clear. Adding notches and labels can really help indicate where pieces should come together.
In addition, consider making a replica of your completed design for production. This way, you’ll have a backup just in case! And think about digitizing it for easier access down the line. Your pattern is now ready to help you create beautiful garments! Embrace this exciting step in your creative journey!
Conclusion
Mastering the art of clothing pattern design opens a world of creativity and self-expression. Have you ever felt the thrill of bringing your ideas to life? By understanding the fundamentals, gathering the right tools, and following a structured approach, anyone can create their own unique patterns. This guide has provided a comprehensive pathway from the basics of pattern design to the final touches needed to prepare a production-ready template.
Key steps such as:
- Taking accurate body measurements
- Drafting initial patterns
- Refining fit
have been emphasized throughout. Each phase is essential in ensuring that the final garment not only meets aesthetic desires but also fits comfortably and beautifully. This process encourages experimentation and iteration, allowing designers to grow in their craft with each project.
Ultimately, the journey of creating clothing patterns is about more than just the end product; it’s about embracing the creative process and gaining confidence in one’s abilities. Whether for personal use or professional aspirations, taking these steps can lead to the creation of stunning garments that reflect individual style. So, gather those tools, take those measurements, and embark on this exciting adventure in pattern design! Remember, every stitch you make is a step towards expressing your unique vision.
Frequently Asked Questions
What are the basic concepts to understand in clothing pattern design?
The basic concepts include grainlines, seam allowances, and the different sections of a garment such as the bodice, sleeves, and skirts.
How can understanding these fundamentals help in clothing design?
Grasping these fundamentals helps visualize how your creations will come together, making the design process smoother.
What are the different design styles mentioned in the article?
The article mentions flat styles and draped styles as two different design approaches.
How can current trends influence clothing design?
Keeping an eye on current trends can spark inspiration and provide insights into effective design techniques.
What essential tools are needed for designing clothing templates?
Essential tools include a ruler, measuring tape, template paper, scissors, pins, and a pencil.
Are there any additional tools that can assist in clothing design?
Yes, adding a French curve for shaping armholes and necklines, as well as a rotary cutter for precise cutting, can be beneficial.
Why is it important to have a sewing machine and fabric when designing?
Having a sewing machine and fabric allows you to evaluate your designs more effectively, simplifying your workflow and enhancing your ability to create accurate designs.


comments +