
Introduction
Creating a greeting card is more than just putting together a few images and words; it’s about crafting a heartfelt message that truly resonates with the recipient. Have you ever felt the joy of receiving a card that made you smile? With the rise of personalized communication, mastering the art of greeting card design has never been more valuable.
This guide reveals essential steps to elevate the back of your greeting card, from:
- Selecting the right software and dimensions
- Incorporating engaging backgrounds
- Adding personal touches
How can you ensure your greeting card stands out in a sea of digital messages and mass-produced options? Let’s explore this together.
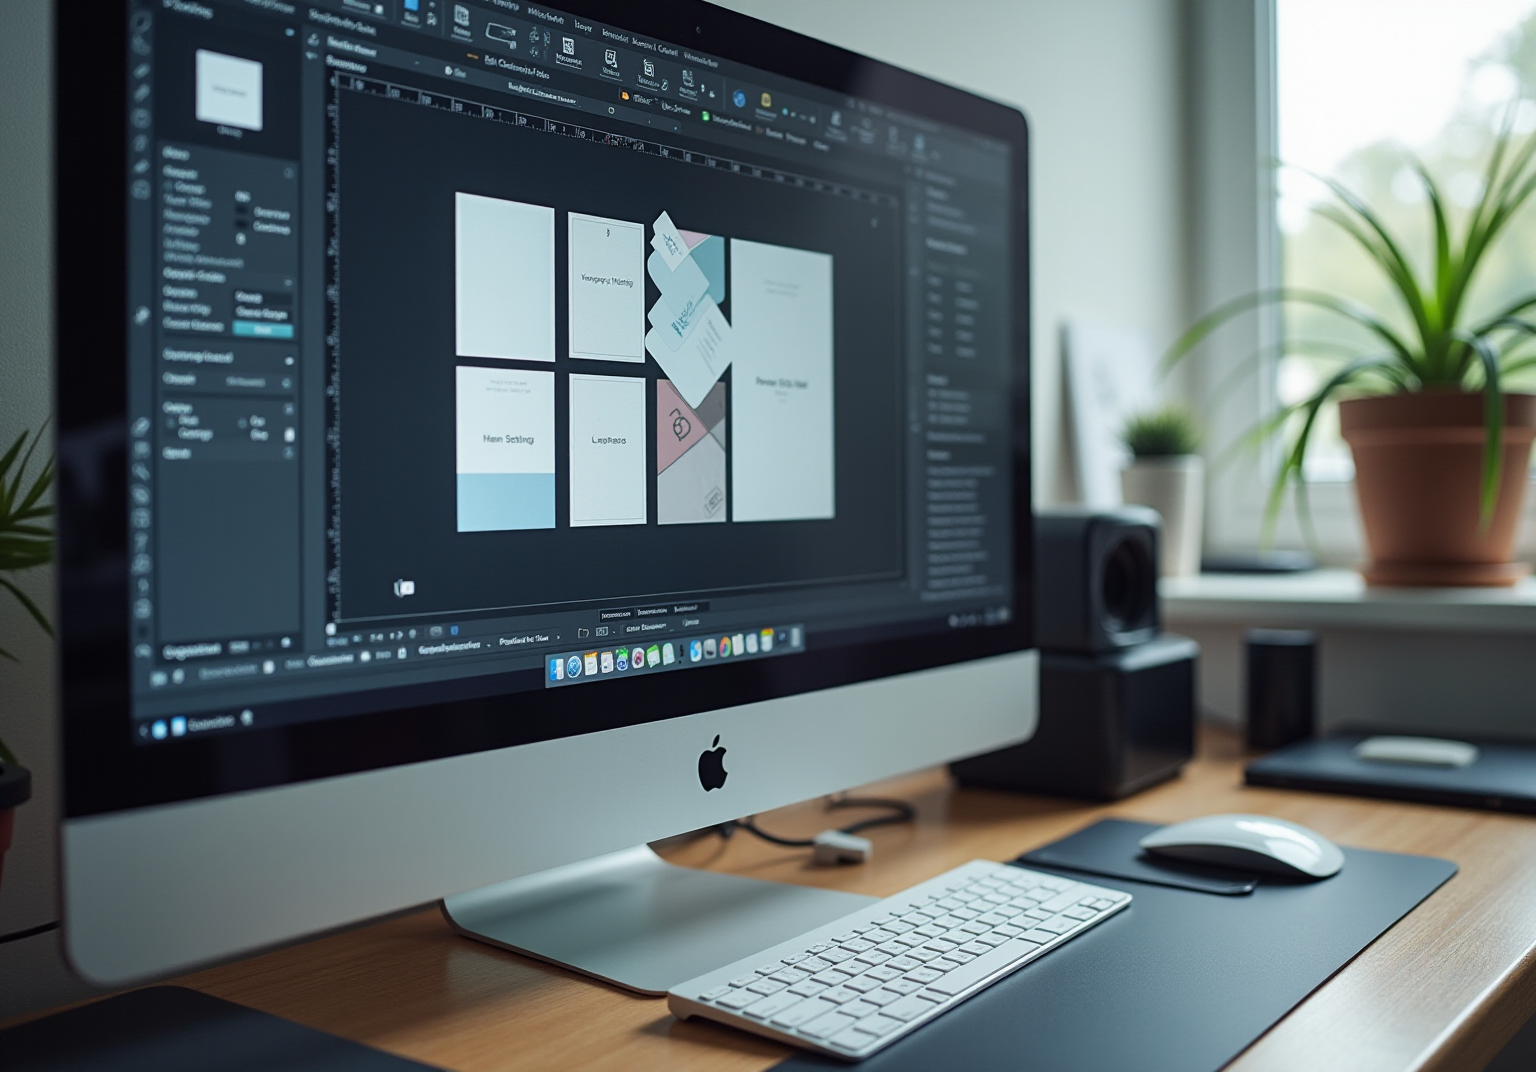
Set Up Your Document for Greeting Card Design
- Choose Your Software: Selecting the right design software can feel daunting, but platforms like Adobe Illustrator, Photoshop, or Canva can make it easier. These tools offer templates specifically for invitations, simplifying the setup process and ensuring you achieve professional results.
- Set Dimensions: Have you ever wondered about the best sizes for your invitations? The most common greeting sizes are 5″ x 7″ (A7 format) and 4″ x 6″. Adjusting your document size to match these standards is crucial. For a 5″ x 7″ piece, remember that the printable area is 4.75″ x 6.75″. If you’re creating a folded piece, don’t forget to double the width to accommodate both the front and back.
- Add Bleed Area: To avoid any unwanted white borders, it’s important to incorporate a bleed area of at least 0.125″ on all sides. For a full bleed design, set your dimensions to 5.25″ x 7.25″. This extra space ensures your layout extends to the edge after cutting, giving your invitations a polished look.
- Set Resolution: You want your invitations to look sharp and clear, right? Configure your document to 300 DPI (dots per inch) to guarantee high-quality printing. This resolution is essential for achieving crisp images and text, enhancing the overall appearance of your card.
- Save Your Document: Finally, save your file in a print-friendly format, such as PDF or TIFF. This step is vital to ensure your creation maintains its quality and is compatible with various printing services, allowing for a beautiful final product.
Create an Engaging Background Design
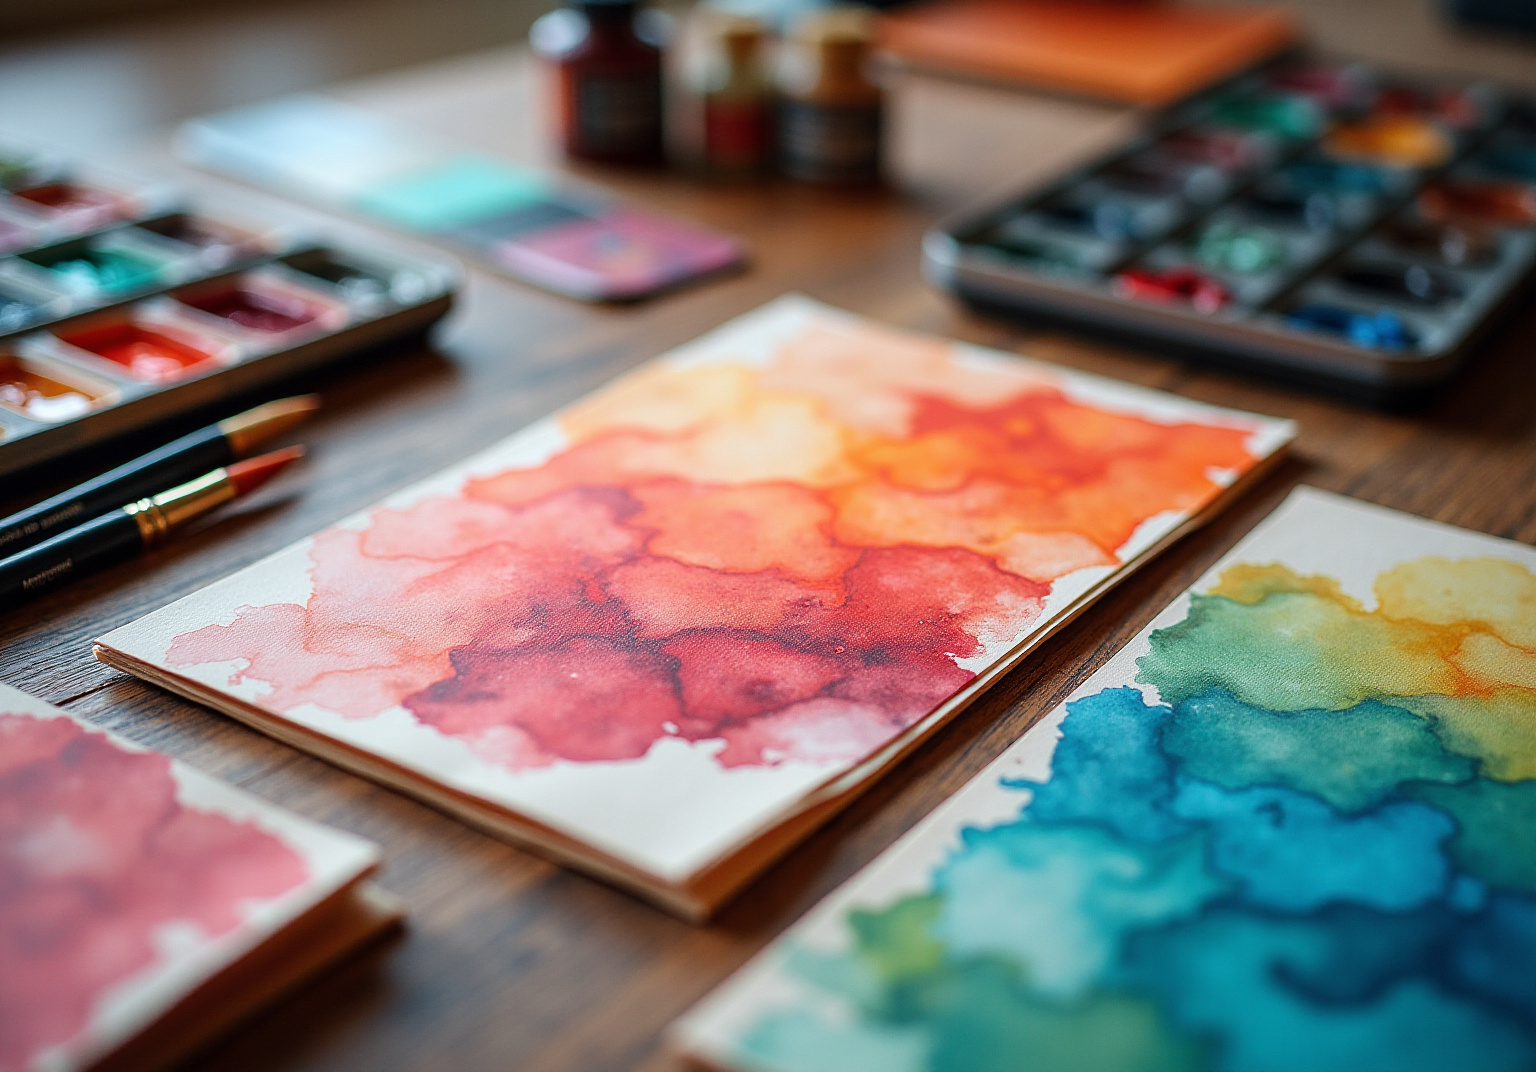
- Choose a Theme: Start by selecting a theme that truly resonates with the occasion—think birthdays, holidays, or heartfelt expressions of gratitude. This choice is crucial as it will guide your color selection and creative elements, ensuring everything feels cohesive. In 2025, popular themes for greeting card designs include nature-inspired motifs, minimalist aesthetics, and vibrant celebrations, all reflecting current trends. Have you considered adding unique watercolor illustrations or custom patterns inspired by the stunning architecture of Vienna? Artists like Kelly Swain beautifully capture this essence in their work.
- Choose Hues: Next, think about the color scheme that will evoke the emotions you want to convey. Warm hues like reds and oranges can spark feelings of festivity and excitement, while cool tones such as blues and greens promote a sense of tranquility and calmness. Did you know that research shows 85% of consumers’ buying choices are influenced by color? This makes your selection all the more important. Kelly Swain’s custom watercolor illustrations often showcase harmonious color palettes that can inspire your own choices.
- Incorporate Patterns or Textures: Enhance your creation by weaving in patterns or textures into the background. Techniques like watercolor washes, floral motifs, or subtle textures can add depth and visual interest, making your card truly stand out. Drawing inspiration from Kelly Swain’s surface patterns can provide fresh ideas on how to effectively use patterns in your greeting cards.
- Use Layers: If your editing software allows, consider using multiple layers for your background. This approach lets you easily modify individual elements without disrupting the overall layout, giving you flexibility in your creative process. Consistency in color choice across all your marketing materials is also vital for building brand loyalty and presence.
- Test Different Designs: Don’t hesitate to experiment with various background designs and seek feedback from friends or potential recipients. Sometimes, minor tweaks can lead to significant improvements in the overall look, ensuring your note is both attractive and memorable. By incorporating elements from Kelly Swain’s artistic journey, you can create a piece that not only reflects your personal style but also resonates with the beauty of Vienna.
Incorporate Personal Photos and Messages
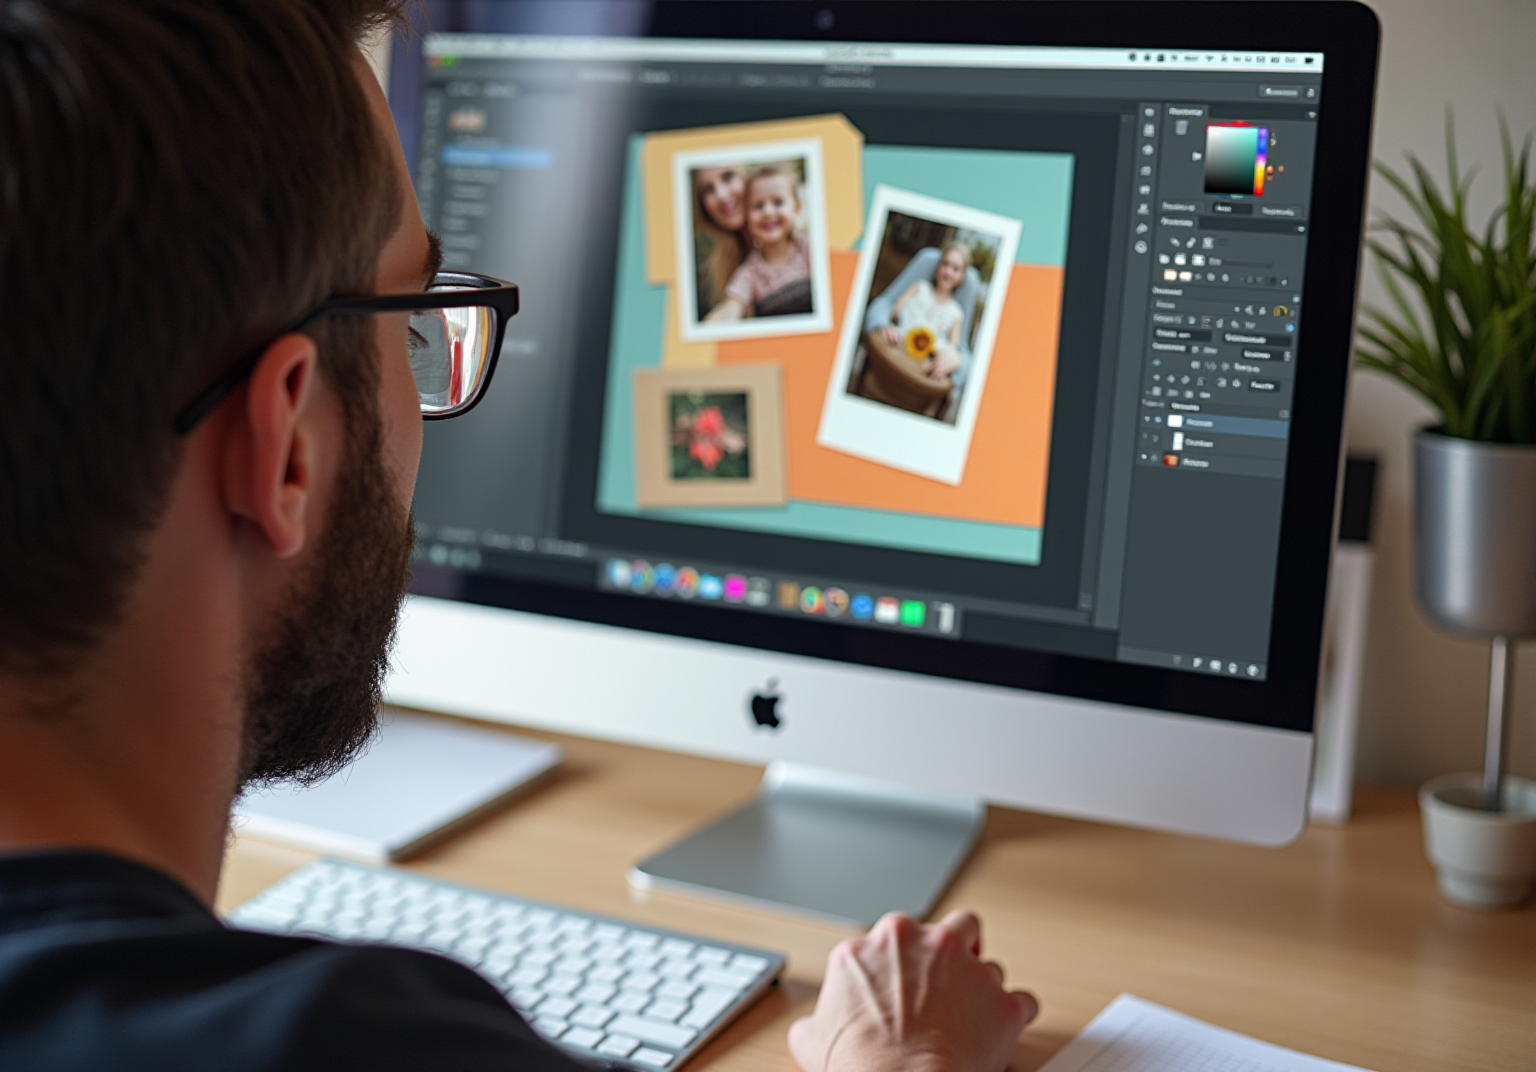
- Select Photos: Have you ever felt the pressure of choosing the perfect images for a special occasion? Selecting high-resolution photos that resonate with the moment is crucial. Make sure they’re clear and well-composed, as this will ensure they look great when printed. Remember, Americans purchase around 6.5 billion greeting messages each year, which underscores the importance of quality in your design.
- Positioning: Now, think about where to place your photos on the layout. Common spots include the front cover or inside the card. Using the rule of thirds can help create a balanced layout, enhancing the overall aesthetic and making your card truly stand out.
- Add Text: What message do you want to convey? Incorporating a personal greeting is essential. Choose a font that complements your layout and is easy to read. Ensure the text color contrasts well with the background for visibility. Industry analysts note that consumers increasingly favor unique and heartfelt expressions, so personalization is key.
- Consider Layout: Have you ever struggled with aligning elements in your design? Utilizing grids or guides in your design software can help you align photos and text neatly, maintaining a professional appearance. Tools like Printique’s Wall Design Wizard can assist you in achieving that polished look you desire.
- Review and Edit: Before you finalize your card, take a moment to review the document for any typos or layout issues. Making necessary adjustments ensures everything looks cohesive. A thorough evaluation can significantly enhance the quality of your product, aligning with consumer preferences for well-crafted physical items.
Finalize and Print Your Greeting Card
- Proofread Your Design: Have you ever felt that nagging worry about missing a typo? Thoroughly reviewing your text for any spelling or grammatical errors can ease that concern. A second pair of eyes can be invaluable; fresh perspectives often catch mistakes that might slip past you. As the Greeting Card Association notes, 54% of American consumers still prefer sending tangible greetings, underscoring the importance of quality in your creation.
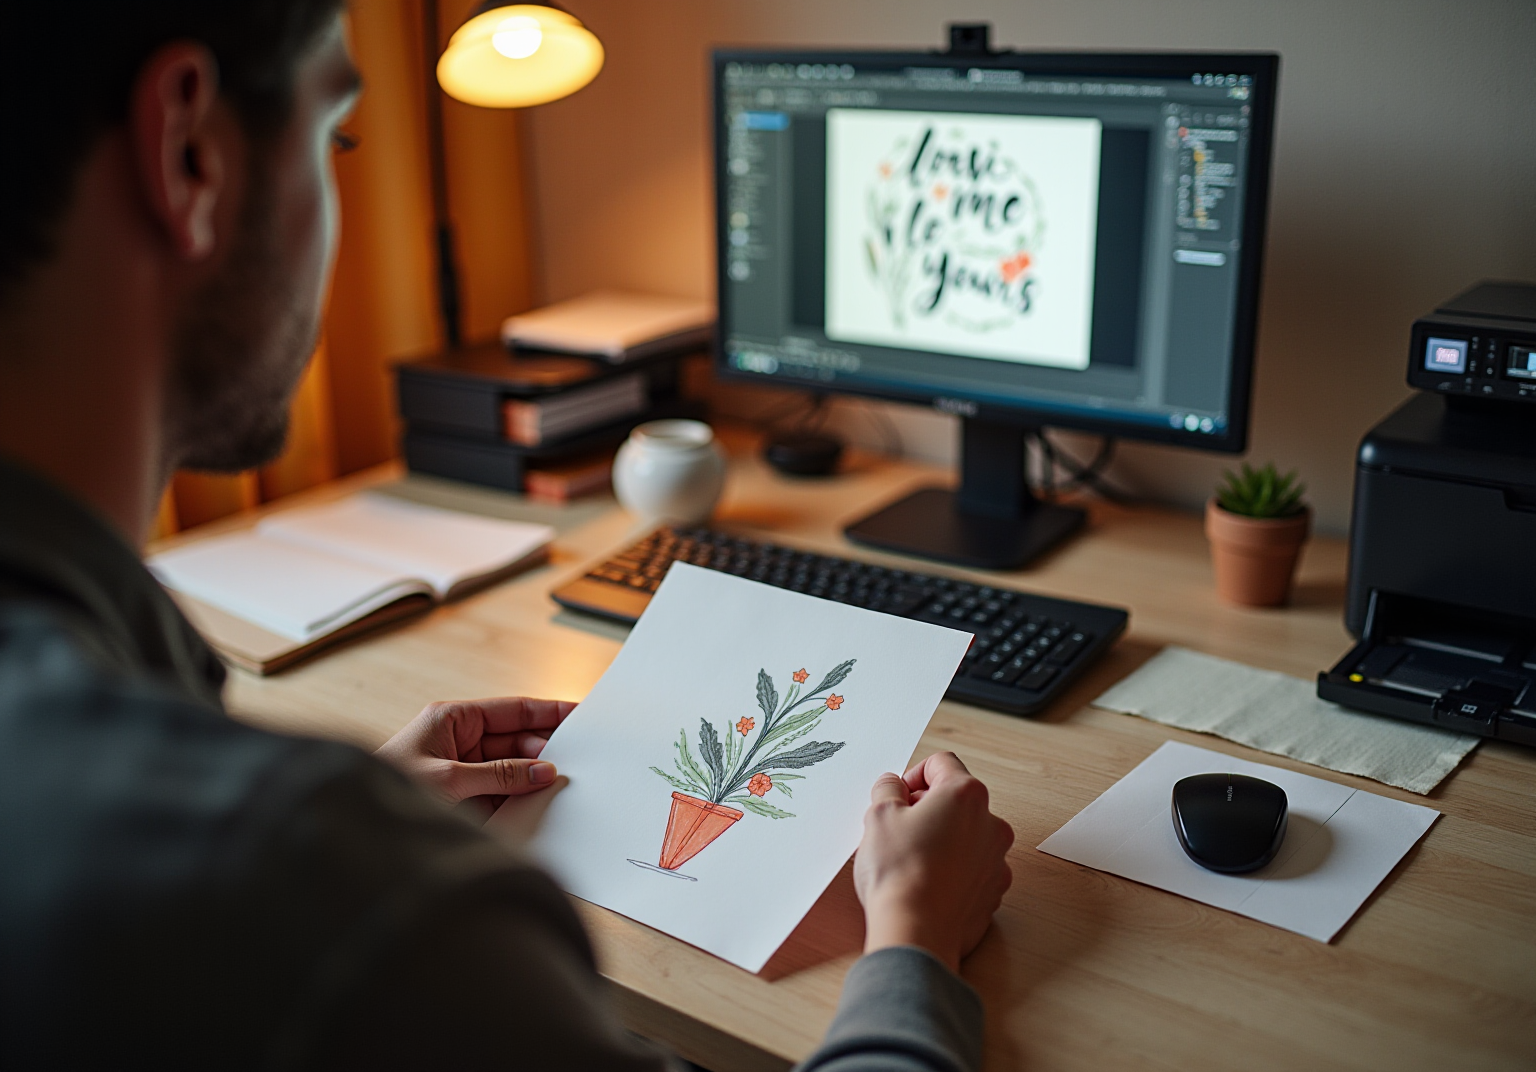
- Check Print Settings: Are you ready to print? Before you dive in, confirm that your document is set to the correct dimensions and resolution. If you’re printing at home, adjust your printer settings to match the specific type of stock you plan to use. Getting these settings right can save you from costly mistakes down the line.
- Choose Your Paper: Selecting the right paper can make all the difference. Opt for high-quality stock that enhances your design. Current trends show a preference for thicker, more durable stocks, with finishes like matte or glossy depending on the look you want to achieve. Plus, consider sustainable options; many consumers are increasingly mindful of the environmental impact of their purchases.
- Print a Test Sample: Before you finalize everything, why not create a test sample? This allows you to assess colors, alignment, and overall appearance. It’s a crucial step for making any necessary adjustments to ensure your item meets your expectations. Remember, the emotional connection that these messages create is significant, so take the time to refine your design.
- Print the Final Version: Once you’re happy with the test print, it’s time to print your final designs. If you’re using a professional printing service, make sure your file meets their specifications for the best results. With nine out of ten households in the U.S. purchasing greeting cards annually, making a lasting impression is essential.
Conclusion
Mastering the art of greeting card design is a journey that requires both technical skills and a touch of creativity. Have you ever wanted to create a card that truly resonates with someone special? By following these thoughtful steps, you can design cards that not only look beautiful but also touch the hearts of those who receive them.
- Choosing the right software and setting appropriate dimensions are just the beginning.
- Think about how personal touches, like cherished photos and heartfelt messages, can make your card stand out.
- Moreover, understanding color psychology can elevate your design, making it more impactful.
- Don’t forget to test various designs to see what truly speaks to you and your audience.
As you approach the final steps, remember that proofreading and selecting quality paper are essential. These details ensure that your card is polished and ready to shine in a competitive market. Ultimately, creating a memorable greeting card goes beyond aesthetics; it’s about forging connections and expressing sentiments that matter.
As trends evolve, embracing innovative design techniques and personalization can deepen the emotional resonance with your audience. So, why not take the leap? Experiment with new ideas and let each card you design tell a unique story that captures the essence of the occasion. Your creativity can make a difference, one card at a time.
Frequently Asked Questions
What software can I use for greeting card design?
You can use design software like Adobe Illustrator, Photoshop, or Canva, which offer templates specifically for invitations to simplify the setup process.
What are the standard dimensions for greeting cards?
The most common greeting card sizes are 5″ x 7″ (A7 format) and 4″ x 6″. For a 5″ x 7″ card, the printable area is 4.75″ x 6.75″.
How do I set up a folded greeting card?
For a folded greeting card, you need to double the width of your document to accommodate both the front and back.
What is a bleed area and why is it important?
A bleed area is extra space added to your design (at least 0.125″ on all sides) to avoid unwanted white borders after cutting. For a full bleed design, set dimensions to 5.25″ x 7.25″.
What resolution should I use for my greeting card design?
Set your document resolution to 300 DPI (dots per inch) to ensure high-quality printing, resulting in sharp images and text.
In what format should I save my greeting card design?
Save your file in a print-friendly format such as PDF or TIFF to maintain quality and compatibility with various printing services.
List of Sources
- Set Up Your Document for Greeting Card Design
- gelato.com (https://gelato.com/blog/card-sizes)
- printplace.com (https://printplace.com/blog/quick-guide-to-standard-greeting-card-sizes?srsltid=AfmBOoptzBRE1d-tUi8iKC43ihe2zisQ4BQJJVBbvUbcxsd1r9896t2U)
- uprinting.com (https://uprinting.com/blog/greeting-card-sizes?srsltid=AfmBOoqoezAnJAIW0AyBMhJUAVVHmGEMYZ4sNdSjoWO_EW1oUsC-0s9M)
- boxprintify.com (https://boxprintify.com/greeting-card-dimensions?srsltid=AfmBOooDPRCqcgjWZrK4e-LE_N59t7pgv_WMIPPymGv5iqpe9eKPttY9)
- template.net (https://template.net/graphic-design/greeting-card-sizes)
- Create an Engaging Background Design
- elements.envato.com (https://elements.envato.com/learn/color-psychology)
- researchgate.net (https://researchgate.net/publication/390070259_The_Impact_of_Color_Psychology_in_Graphic_Design_A_Comprehensive_Review)
- 70+ Color Psychology Statistics & Facts (2026 Data) – Colorlib (https://colorlib.com/wp/color-psychology-facts)
- virtualprint.co.nz (https://virtualprint.co.nz/the-psychology-of-colours-in-marketing?srsltid=AfmBOoqP3ji8BBm2P7KeEHxL-1z_Mlo7rKgF5BJvqkwUJnYLvzimZwoE)
- oppsprint.com (https://oppsprint.com/understanding-color-psychology-for-effective-flyer-design)
- Incorporate Personal Photos and Messages
- printique.com (https://printique.com/blog/guide-to-printing-photos?srsltid=AfmBOop7qMFCuc0UUD8k-p2c7G5THH1Fa7P8C7rAlZPQVxD3PnImmYRA)
- giftlips.com (https://giftlips.com/blog/greeting-card-industry-statistics)
- huuray.com (https://huuray.com/inspiration/gifts/greeting-card-market)
- shutterflyinc.com (https://shutterflyinc.com/traditional-touch-in-a-digital-age-the-resurgence-of-physical-cards-and-personalized-gifts-among-younger-generations)
- datainsightsmarket.com (https://datainsightsmarket.com/reports/personalized-greeting-cards-1292603)
- Finalize and Print Your Greeting Card
- grandviewresearch.com (https://grandviewresearch.com/industry-analysis/greeting-cards-market-report)
- servicescape.com (https://servicescape.com/blog/18-interesting-and-inspirational-quotes-about-editing-and-proofreading)
- giftlips.com (https://giftlips.com/blog/greeting-card-industry-statistics)
- hmgpopup.com (https://hmgpopup.com/analysis-of-market-trends-and-consumer-behavior-of-greeting-card-industry-statistics)
- huuray.com (https://huuray.com/inspiration/gifts/greeting-card-market)


comments +