
Introduction
Capturing the serene beauty of winter through watercolor landscapes can feel both rewarding and overwhelming for artists at any level. Have you ever stared at a blank canvas, wondering how to bring the soft, muted tones of the season to life? With the right techniques and materials, you can transform that canvas into a breathtaking winter scene that reflects your unique vision.
However, navigating the delicate balance of transparency, color mixing, and layering can be a challenge. It’s understandable to feel daunted by these complexities. But remember, every artist has faced similar hurdles. The key is to embrace the process and allow yourself the freedom to experiment.
So, how can you master these techniques and create stunning artworks that resonate with your artistic voice? Let’s explore some supportive strategies that can guide you on this creative journey.
Understand Watercolor Basics for Winter Landscapes
Watercolor painting is truly a beautiful way to express the soft, muted tones of a winter watercolor landscape. If you’ve ever felt a bit overwhelmed by how to capture these serene scenes, you’re not alone. Here are some essential concepts to help you along your artistic journey:
- Transparency: The transparent nature of watercolors allows light to reflect off the paper, creating a luminous effect that’s especially striking for snow and ice. This quality enhances the ethereal beauty of winter watercolor landscapes, making these cold-season scenes feel alive and dynamic. As Elina Zhelyazkova observes, capturing the subtle beauty of the cold season involves balancing minimal hues with a rich radiance.
- Color Mixing: Have you ever struggled to achieve those delicate hues typical of the cold season? Mastering color mixing is key. Focus on blending blues, grays, and whites to replicate the cool tones that define this time of year. This skill is vital, as it enables you to create depth and realism in your artwork. With over 62,154 students enrolling in watercolor classes, it’s clear that many are eager to master these techniques.
- Layering: Building your painting in layers can be incredibly rewarding. Start with light washes and gradually introduce darker tones. This method not only enhances depth but also mimics the natural flow of light and shadow during the cold season. Will Elliston emphasizes that layering is essential for creating realistic scenes in a winter watercolor landscape.
- Brush Techniques: Experimenting with various brush strokes can really bring your artwork to life. Different textures, like the softness of snow or the ruggedness of tree bark, can be conveyed through your brushwork. Flat brushes are perfect for broad washes, while round brushes excel at detailing intricate elements. Case studies from classes show that students who apply these techniques can produce stunning seasonal scenes that reflect their unique artistic vision.
By mastering these foundational techniques, you’ll be well-prepared to create breathtaking seasonal scenes that truly reflect your artistic vision. Remember, every stroke is a step towards expressing your creativity!
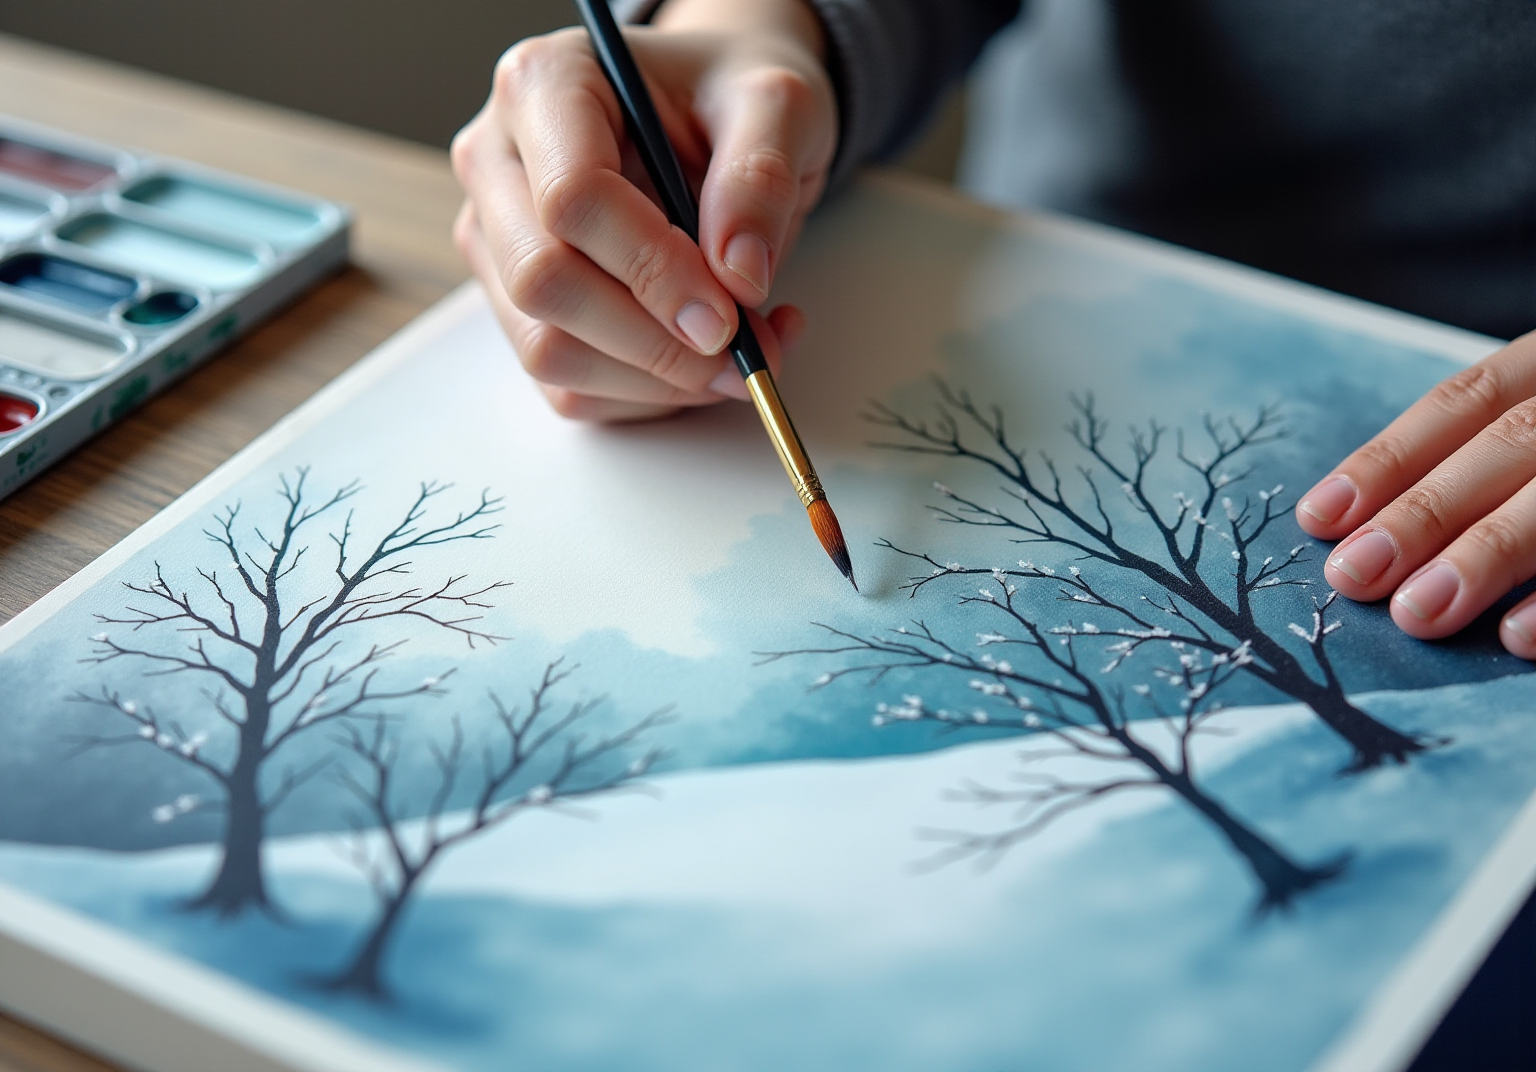
Select Materials and Techniques for Winter Painting
Creating stunning winter watercolor landscapes can be a delightful journey, and the right materials are essential for achieving this. Here’s what you’ll need:
- Watercolor Paper: Opt for high-quality, cold-pressed watercolor paper (300 gsm) that can withstand multiple washes without warping. Brands like Arches and Fabriano are trusted by many artists for their durability and texture.
- Watercolor Paints: Investing in a good set of professional-grade watercolor paints is crucial. These paints offer vivid shades and outstanding lightfastness. Did you know the market for watercolor paints is projected to grow to $1.9 billion by 2032? This highlights the importance of choosing quality materials.
- Brushes: A variety of brushes will serve you well. Round brushes are great for detail work, while flat brushes are perfect for washes. A size range from 2 to 12 is ideal.
- Palette: A mixing palette is essential for blending colors. Whether ceramic or plastic, choose one that suits your style.
- Water Container: Keep a container of clean water nearby for rinsing brushes and diluting paints.
- Paper Towels: These handy tools are perfect for blotting excess water and correcting mistakes.
Techniques:
- Wet-on-Wet: This technique involves applying wet paint onto wet paper, creating soft edges and blending that’s perfect for atmospheric effects in winter skies.
- Wet-on-Dry: Here, you apply wet paint onto dry paper, allowing for sharper edges and more defined shapes—ideal for trees and buildings.
- Salt Technique: Sprinkling salt onto wet paint can create fascinating textures that mimic the look of snowflakes.
Moreover, incorporating sustainable practices is essential. Consider using eco-friendly watercolor products, which are increasingly available. By selecting the right materials and mastering these techniques, you’ll enhance your ability to craft stunning seasonal scenes, particularly a winter watercolor landscape, that truly capture the essence of winter. So, are you ready to embark on this artistic adventure?
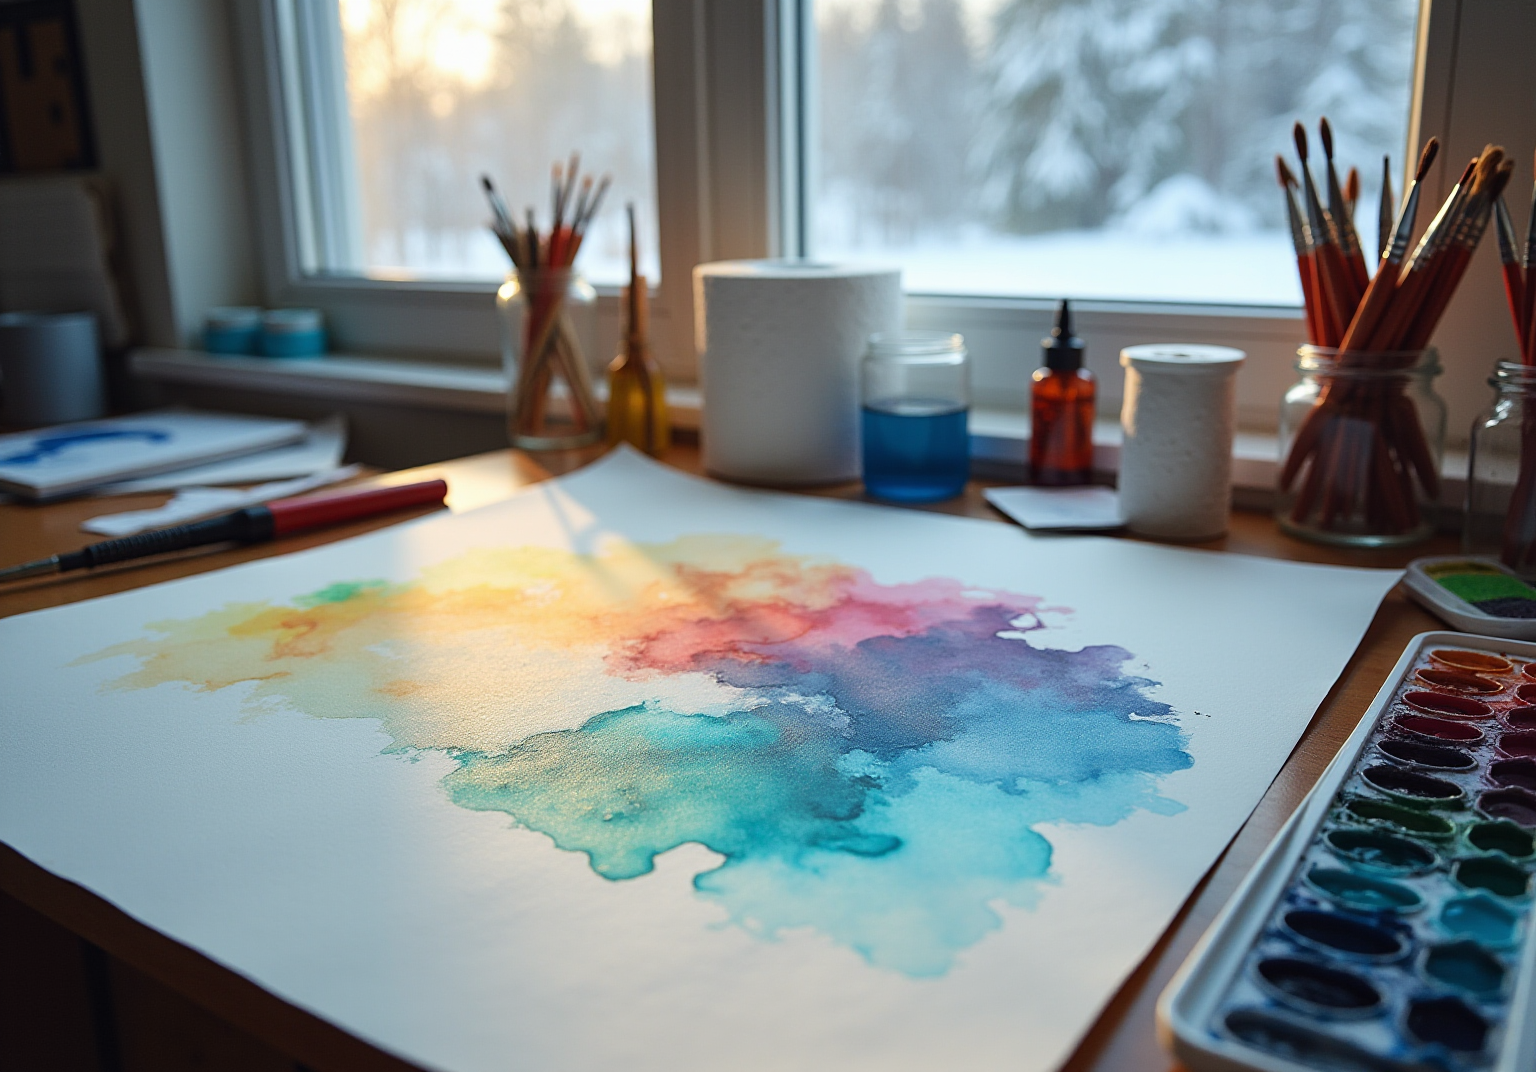
Follow a Step-by-Step Process to Create Your Winter Landscape
Creating a winter watercolor landscape can be a delightful yet challenging endeavor. Have you ever felt a bit overwhelmed by the thought of capturing the beauty of the season? Let’s take it step by step, ensuring you feel confident and inspired throughout the process.
- Sketch Your Composition: Start by lightly sketching the outline of your scenery on watercolor paper. Focus on the horizon line, trees, and any buildings you want to include. This initial step sets the foundation for your masterpiece.
- Create a Wash for the Sky: Wet the area of the sky with clean water, then apply a light wash of blue or gray. Allow it to blend naturally for a soft, wintery effect. This gentle touch can evoke the serene beauty found in a winter watercolor landscape.
- Paint the Background: Once the sky is dry, add a wash for the distant hills or trees using lighter shades. This will create depth in your landscape, making it feel more expansive and inviting.
- Add Foreground Elements: Use a wet-on-dry technique to paint the foreground elements, such as trees or buildings. Begin with lighter hues and gradually incorporate darker tones for depth. This layering adds richness to your scene.
- Incorporate Snow Effects: Use a dry brush technique to add highlights of white or very light hues to represent snow on branches and rooftops. You can also scratch twigs or small branches into the wet area with a round-point stylus to produce darker marks, enhancing the texture of your environment. This detail can bring your painting to life.
- Detailing: Once the main elements are dry, add finer details like tree bark, window reflections, or shadows to enhance realism. Think about utilizing shades such as Burnt Sienna, Green Gold, and Permanent Rose for enhanced vibrancy. These touches can truly elevate your artwork.
- Final Touches: Assess your painting for balance and make any necessary adjustments. You can add more layers or details as needed. Remember, it’s all about finding that harmony in your work.
By following these steps, you’ll create a unified and visually attractive scene that showcases your artistic abilities, resulting in a beautiful winter watercolor landscape. As Rob Dudley wisely observes, “Nevertheless, I believe the cold season provides as stunning a variety of hues as any of the other seasons.” So, embrace the process, experiment with shades and techniques, and enjoy your artistic journey!
Add Finishing Touches and Personalize Your Artwork
To finalize your winter landscape and make it uniquely yours, consider these heartfelt suggestions:
- Signature: Have you signed your artwork yet? This simple act adds a personal touch and marks it as your creation, making it truly special.
- Varnishing: Once your painting is completely dry, think about applying a protective varnish. This not only enhances colors but also protects the surface, ensuring your masterpiece lasts.
- Framing: Choosing a frame that complements your artwork can make a world of difference. A simple, elegant frame can elevate the overall presentation, bringing your vision to life.
- Personal Elements: Why not incorporate personal touches? Perhaps a favorite tree or a specific building that holds meaning for you. This adds a narrative quality to your painting, making it even more significant.
- Experiment with Mixed Media: Have you ever thought about adding elements like ink or colored pencils? This can introduce additional texture and detail, creating a more dynamic piece that reflects your unique style.
By adding these finishing touches, you not only enhance the visual appeal of your winter watercolor landscape but also infuse it with your personal story and style. Embrace the process, and let your creativity shine!
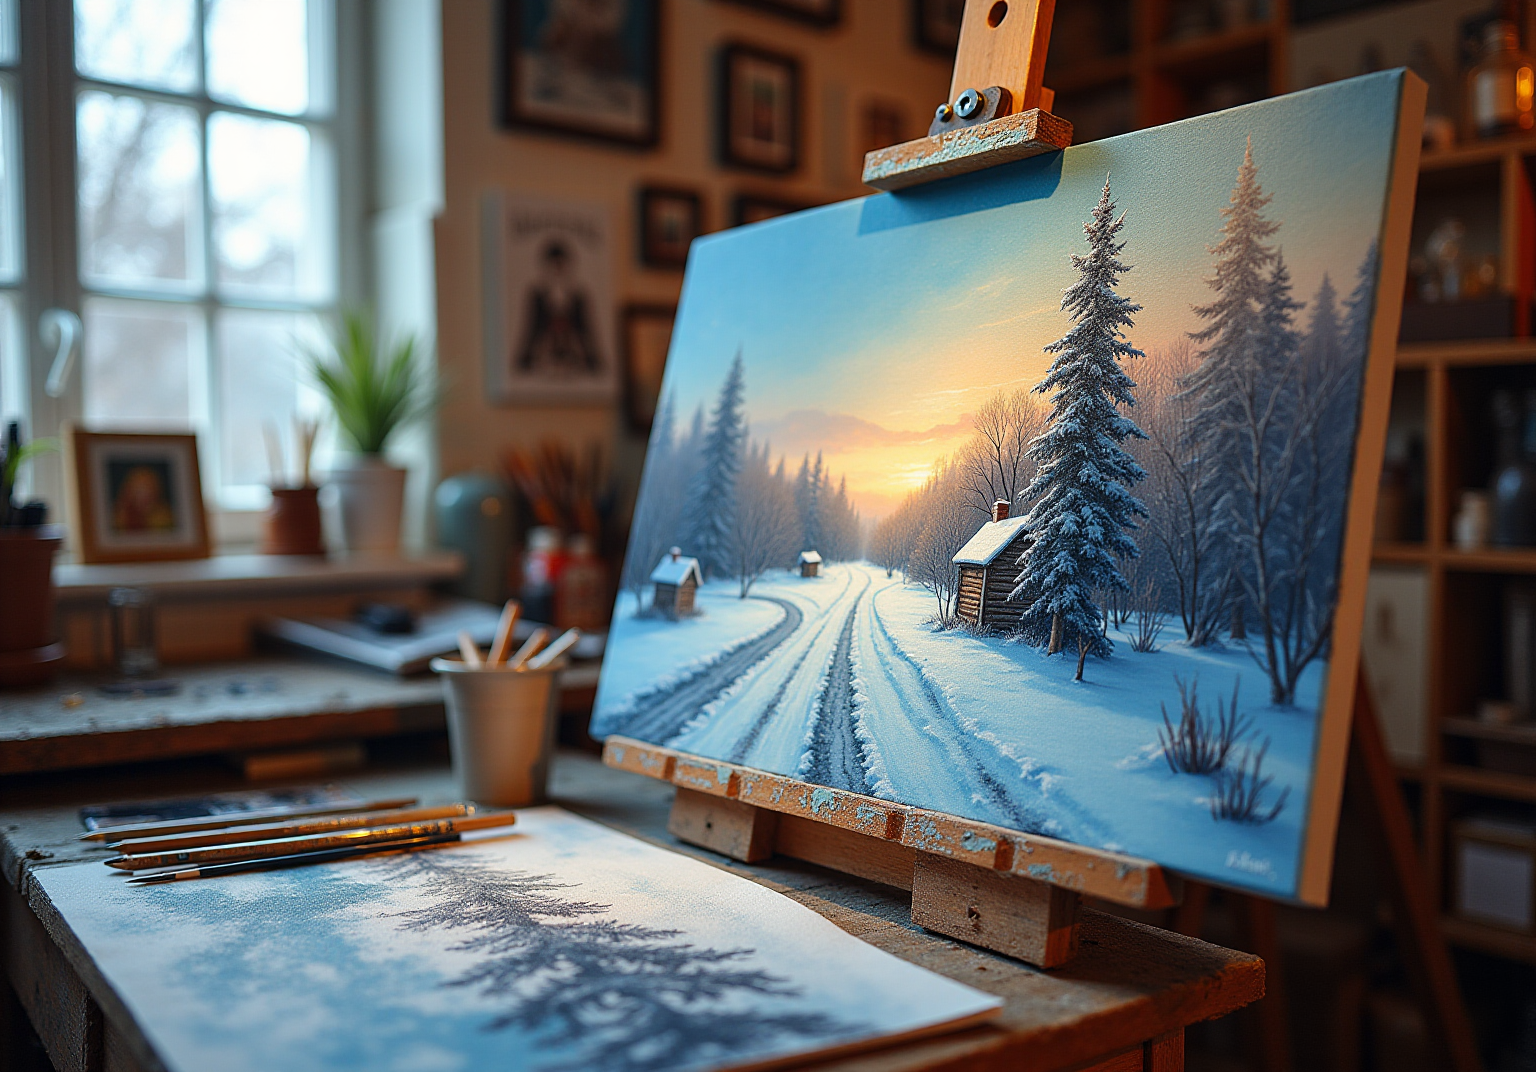
Conclusion
Creating stunning winter watercolor landscapes is an enriching journey that combines technique, creativity, and personal expression. Have you ever felt the urge to capture the serene beauty of winter? By embracing essential principles of watercolor painting—like transparency, color mixing, layering, and brush techniques—you can effectively bring your visions to life. These foundational skills empower you to create breathtaking scenes that resonate with the essence of the cold season.
This article has explored various aspects of winter watercolor painting, from selecting high-quality materials to following a step-by-step process for crafting a landscape. Key techniques, such as wet-on-wet and wet-on-dry applications, along with personal elements and mixed media, enhance your final artwork, making it a true reflection of your style. Each stage of the painting process contributes to the overall depth and vibrancy, ensuring that your finished piece stands out.
Ultimately, the art of winter watercolor landscapes invites you to explore your creativity and express your unique perspective. Whether you’re a beginner or an experienced artist, engaging with these techniques not only fosters skill development but also deepens your appreciation for the beauty of winter. So, gather your materials, embrace the process, and let each brushstroke tell your story in the enchanting world of winter landscapes.
Frequently Asked Questions
What are the key concepts to understand when painting winter landscapes in watercolor?
The key concepts include transparency, color mixing, layering, and brush techniques. These elements help capture the soft, muted tones and ethereal beauty of winter scenes.
Why is transparency important in watercolor painting?
Transparency allows light to reflect off the paper, creating a luminous effect that enhances the beauty of snow and ice, making winter landscapes feel alive and dynamic.
How can I achieve the delicate hues typical of winter landscapes?
Mastering color mixing is essential. Focus on blending blues, grays, and whites to replicate the cool tones that define the winter season, which adds depth and realism to your artwork.
What is the layering technique in watercolor painting?
Layering involves building your painting in stages, starting with light washes and gradually introducing darker tones. This technique enhances depth and mimics the natural flow of light and shadow in winter landscapes.
How do brush techniques contribute to watercolor painting?
Different brush strokes can create various textures, such as the softness of snow or the ruggedness of tree bark. Flat brushes are ideal for broad washes, while round brushes are better for detailing intricate elements.
What is the benefit of mastering these foundational techniques?
By mastering these techniques, you can create breathtaking seasonal scenes that reflect your unique artistic vision, allowing you to express your creativity effectively.
List of Sources
- Understand Watercolor Basics for Winter Landscapes
- americanwatercolor.net (https://americanwatercolor.net/six-secrets-to-better-snow-scenes)
- skillshare.com (https://skillshare.com/en/blog/winter-themed-watercolor-projects-for-beginner?srsltid=AfmBOornbpNzPpikZfo0T6sqq1S_VMiligKMPxPWPgMoxKU79uH2SNtk)
- fearlessbrush.com (https://fearlessbrush.com/2024/01/19/embracing-the-ethereal-painting-foggy-winter-landscapes-with-watercolor)
- danielsmith.com (https://danielsmith.com/tutorials/extra-fine-watercolors/tips-painting-winter-landscape-watercolor)
- Select Materials and Techniques for Winter Painting
- accio.com (https://accio.com/business/trend-of-watercolor-paint)
- archivemarketresearch.com (https://archivemarketresearch.com/reports/watercolor-paints-260990)
- wiseguyreports.com (https://wiseguyreports.com/reports/watercolor-paints-market)
- Watercolor Market Size, Share, Trends, Growth | Report, 2035 (https://marketresearchfuture.com/reports/watercolor-market-36463)
- Watercolor Market Size, Share & Trends, 2025–2034 (https://gminsights.com/industry-analysis/watercolor-market)
- Follow a Step-by-Step Process to Create Your Winter Landscape
- danielsmith.com (https://danielsmith.com/tutorials/extra-fine-watercolors/tips-painting-winter-landscape-watercolor)
- artistsandillustrators.co.uk (https://artistsandillustrators.co.uk/how-to/watercolour/how-to-paint-a-winter-landscape-in-watercolour)


comments +