
Introduction
Transforming a standard deck of cards into a canvas of creativity opens up a world of artistic possibilities. Have you ever wanted to express your style in a unique way? Whether for personal enjoyment, thoughtful gifts, or memorable game nights, painting cards allows you to unleash your imagination. With the right materials and techniques, you can elevate your card collection from ordinary to extraordinary.
This guide offers a step-by-step approach to:
- Gather essential supplies
- Prepare the cards
- Apply various painting techniques
- Preserve the finished artwork
Each card can become a masterpiece, waiting to be showcased or played. Let’s embark on this creative journey together!
Gather Essential Materials for Card Painting
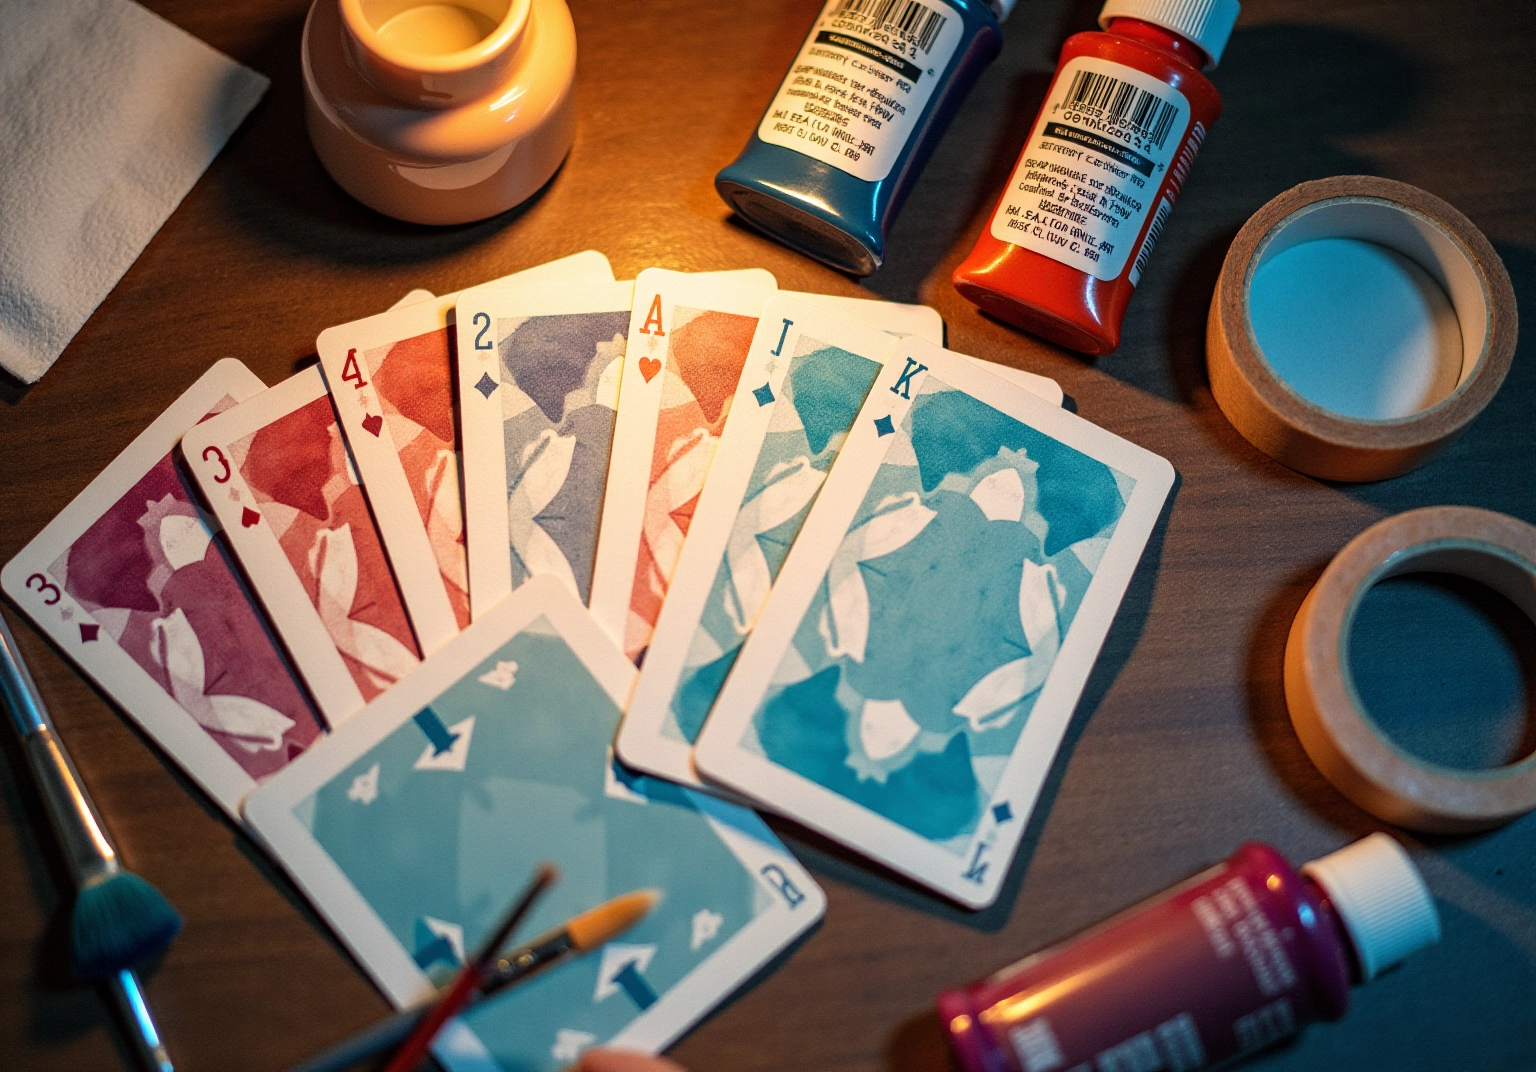
To embark on the delightful journey of painting your cards, it’s essential to gather materials that will inspire creativity:
- Playing Cards: You can choose either a standard deck or opt for blank cards specifically designed for painting. Which one resonates with you more?
- Acrylic Paints: These mediums adhere beautifully to paper surfaces, allowing your artistic vision to flourish. Just remember to steer clear of oil-based colors, as they can harm your cards.
- Tools: A variety of tools will serve you well—fine-tipped ones for those intricate details and wider tools for covering larger areas.
- Palette: A palette is perfect for mixing colors. Consider using a disposable paper palette or even a ceramic plate; both work wonderfully.
- Water Container: This will be your trusty companion for rinsing tools and diluting colors as needed.
- Paper Towels: Keep these handy for cleaning brushes and removing any excess color that might distract from your masterpiece.
- Masking Tape: This is invaluable for creating clean edges and sections on your cards, ensuring a polished look.
- Varnish: Once your artwork is complete, a varnish or sealant will protect your beautiful creation for years to come.
Having all these materials ready before you begin will not only streamline your process but also enhance your creative flow. So, take a moment to gather everything you need, and let the magic of painting unfold!
Prepare Your Cards for Painting
Preparing your cards can be a rewarding experience, and we’re here to help you every step of the way. Have you ever felt unsure about how to start? Follow these simple steps to prepare your cards:
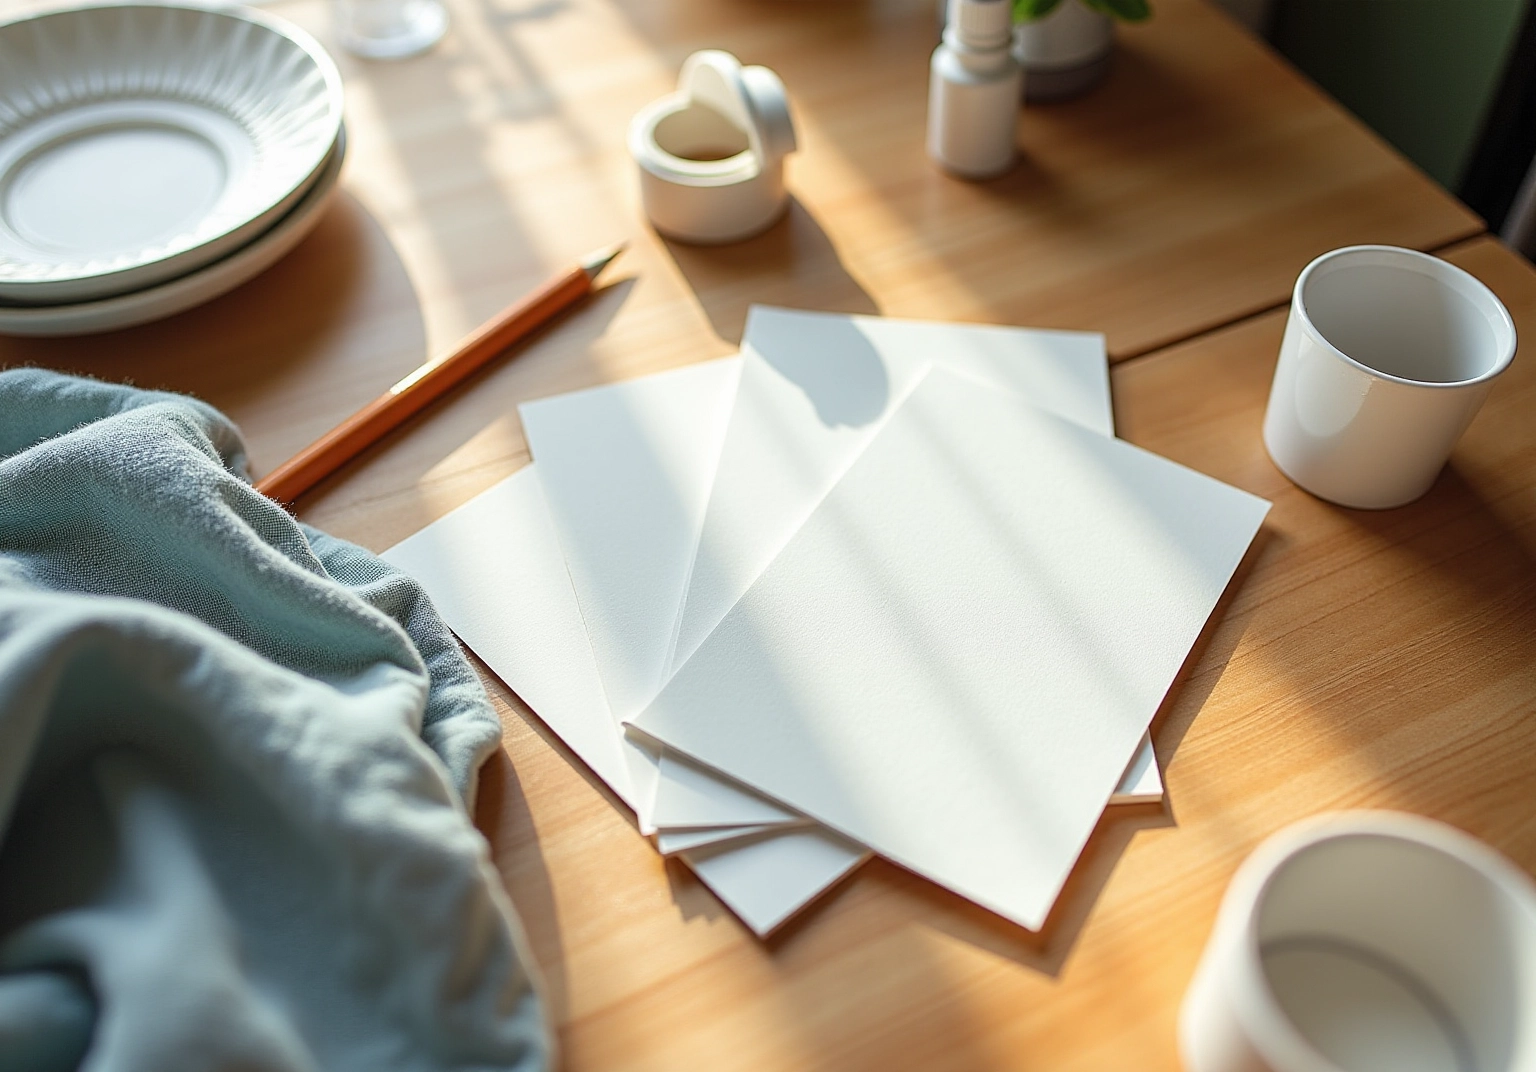
- Clean the Items: Begin by wiping the surface of each item with a damp cloth. This will eliminate any dust or oils that might hinder paint adhesion, setting you up for success.
- Apply a Base Coat (Optional): If you wish, you can apply a thin layer of white acrylic gesso to the surfaces. This creates a smoother base and enhances your colors. Just remember to allow it to dry completely before moving on.
- Tape Off Areas: Use masking tape to outline the regions where you want to maintain the original design or create clean edges for your artwork. This small step can make a big difference in the final look.
- Plan Your Design: Take a moment to sketch your design lightly with a pencil on the paper. This will serve as a helpful guide while you paint, ensuring your vision comes to life.
By thoughtfully preparing your cards, you not only set the stage for a successful project but also embrace the joy of creativity. Enjoy the process, and let your artistic spirit shine!
Apply Painting Techniques for Unique Designs
Now, let’s explore the wonderful world of color application together! Have you ever felt a bit uncertain about how to bring your creative visions to life? Here are some nurturing techniques to consider:
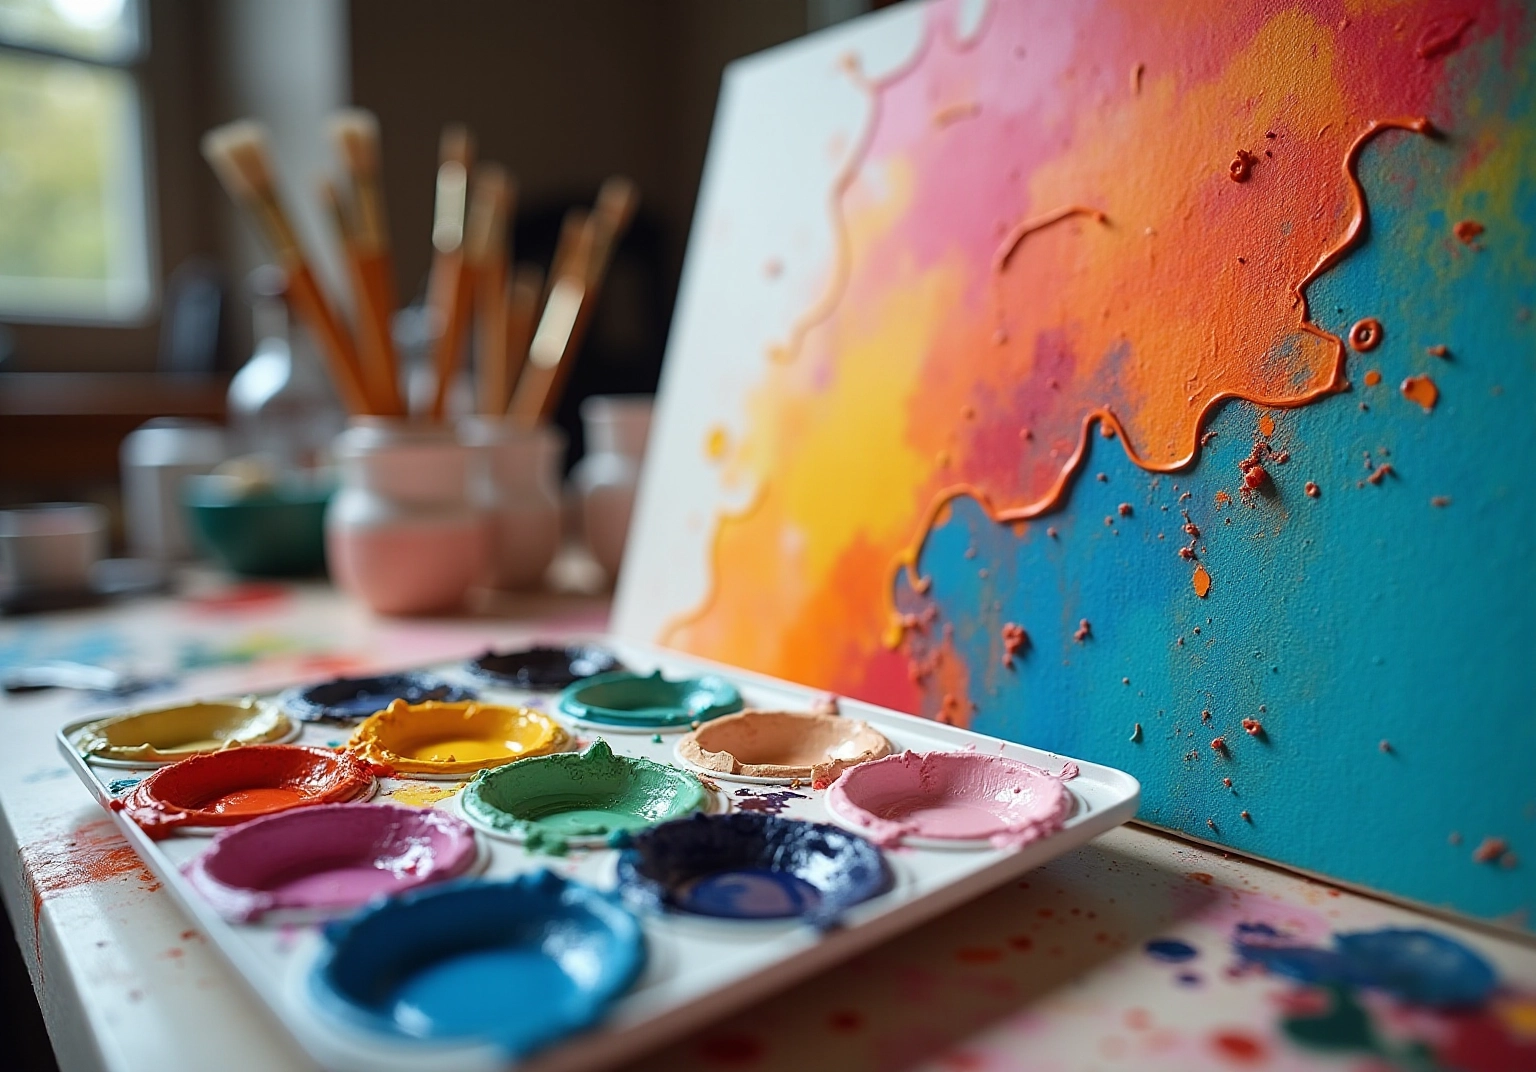
- Base color: Begin with a light base color and gradually build up layers to add depth. Allow each layer to dry before adding the next, creating a beautiful foundation for your artwork.
- Wet-on-wet: By applying wet color onto a wet surface, you can achieve soft edges and lovely blends. This technique is perfect for creating smooth gradients.
- Dry brushing: Using a dry brush with minimal color can help you create texture and detail. This approach works wonderfully for adding highlights or intricate designs, giving your work that special touch.
- Splattering: For a playful effect, try flicking paint onto the surface with a brush. This can result in a whimsical or abstract look, adding a fun element to your creations.
- Detailing: Once your base layers are dry, take a moment to use fine brushes for adding details. Consider using a contrasting color to make those details pop and add impact.
These techniques can empower you to create unique and personalized layouts in your artistic endeavors. Remember, every stroke is a step towards expressing your creativity!
Finish and Preserve Your Painted Cards
To finish and preserve your cards, let’s take a moment to follow these steps together:
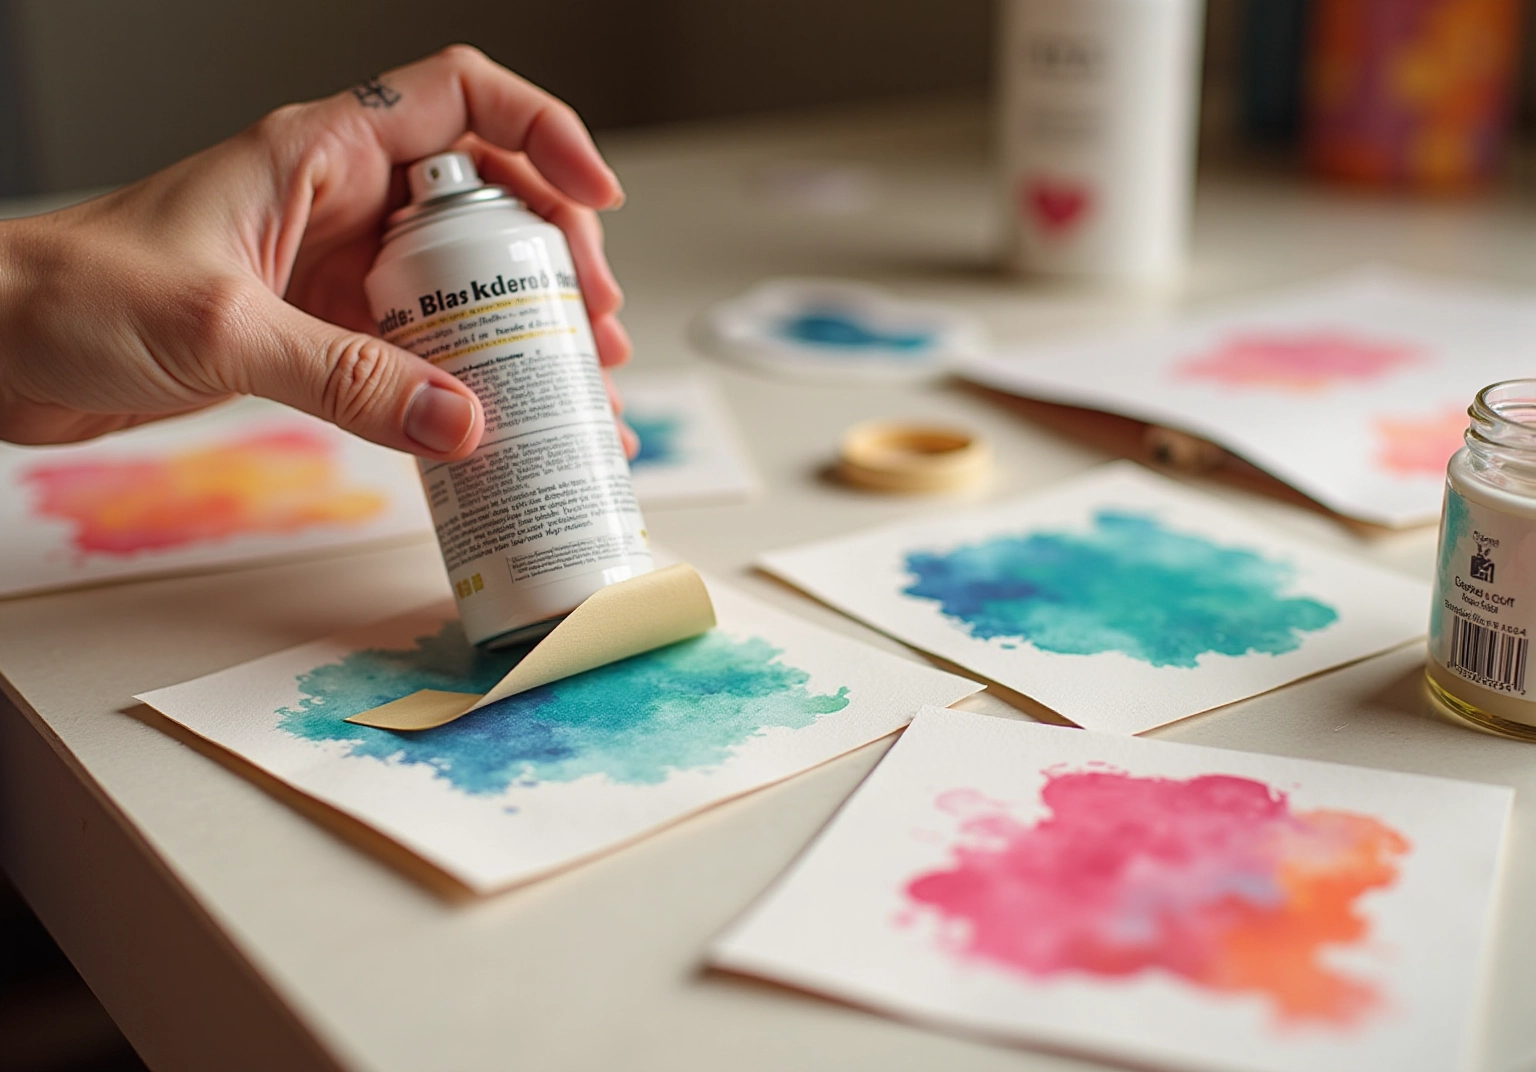
- Remove Tape: Once the paint is completely dry, gently peel off any masking tape. This reveals those clean edges you’ve worked so hard to achieve.
- Apply a Sealant: It’s time to protect your artwork! Use a clear acrylic spray varnish or a brush-on sealant. Hold the spray can about 12 inches away and apply in light, even coats. Remember to allow it to dry completely between coats for the best results.
- Store Properly: Once sealed, store your cards in a cool, dry location. Consider using a protective box or sleeve to prevent scratches and keep them safe.
- Showcase or Utilize: Your cards are now ready to shine! Whether you choose to exhibit them as art or use them in games, take a moment to enjoy your creations.
By following these thoughtful finishing steps, you ensure that your painted cards remain beautiful and intact for years to come. Have you ever felt the satisfaction of seeing your hard work preserved? Embrace this moment!
Conclusion
Transforming a standard deck of cards into personalized works of art can be a truly rewarding and enjoyable endeavor. Have you ever felt the joy of creating something unique? By gathering essential materials such as acrylic paints, brushes, and sealants, you lay the groundwork for a delightful creative journey. Preparing the cards with proper cleaning and base coating enhances your painting experience, allowing for vibrant colors and clean designs.
Moreover, the application of various painting techniques, including layering, wet-on-wet, and dry brush methods, empowers you to explore your artistic side and create unique card designs. These techniques not only add depth and texture but also encourage experimentation. Each card becomes a reflection of your personal style and creativity.
Preserving your finished artwork is crucial to ensuring that the painted cards remain intact and visually appealing over time. By applying a sealant and storing them properly, you can enjoy the beauty of each card, whether displayed as art or used in games. Ultimately, this creative process transforms ordinary cards into cherished masterpieces, showcasing the limitless potential of imagination. Embrace the art of card painting and let your creativity flourish in every stroke.
Frequently Asked Questions
What materials do I need to start painting my deck of cards?
You will need playing cards (either a standard deck or blank cards), acrylic or gouache medium, a variety of painting tools, a palette for mixing colors, a water container, paper towels, masking tape, and varnish or sealant.
Can I use any type of paint for card painting?
It is recommended to use acrylic or gouache medium, as they adhere well to paper surfaces. Avoid oil-based colors, as they can damage the cards.
What tools are best for painting cards?
A variety of tools is ideal, including fine-tipped brushes for intricate details and wider brushes for covering larger areas.
What can I use as a palette for mixing colors?
You can use a disposable paper palette or a ceramic plate as a palette for mixing colors.
Why do I need a water container while painting?
A water container is essential for rinsing your tools and diluting colors as needed during the painting process.
How can I keep my workspace clean while painting?
Keeping paper towels handy will help you clean brushes and remove any excess color that may distract from your artwork.
What is the purpose of masking tape in card painting?
Masking tape is useful for creating clean edges and sections on your cards, ensuring a polished and professional look.
How can I protect my finished artwork on the cards?
Once your artwork is complete, applying a varnish or sealant will protect your creation and help it last for years.


comments +